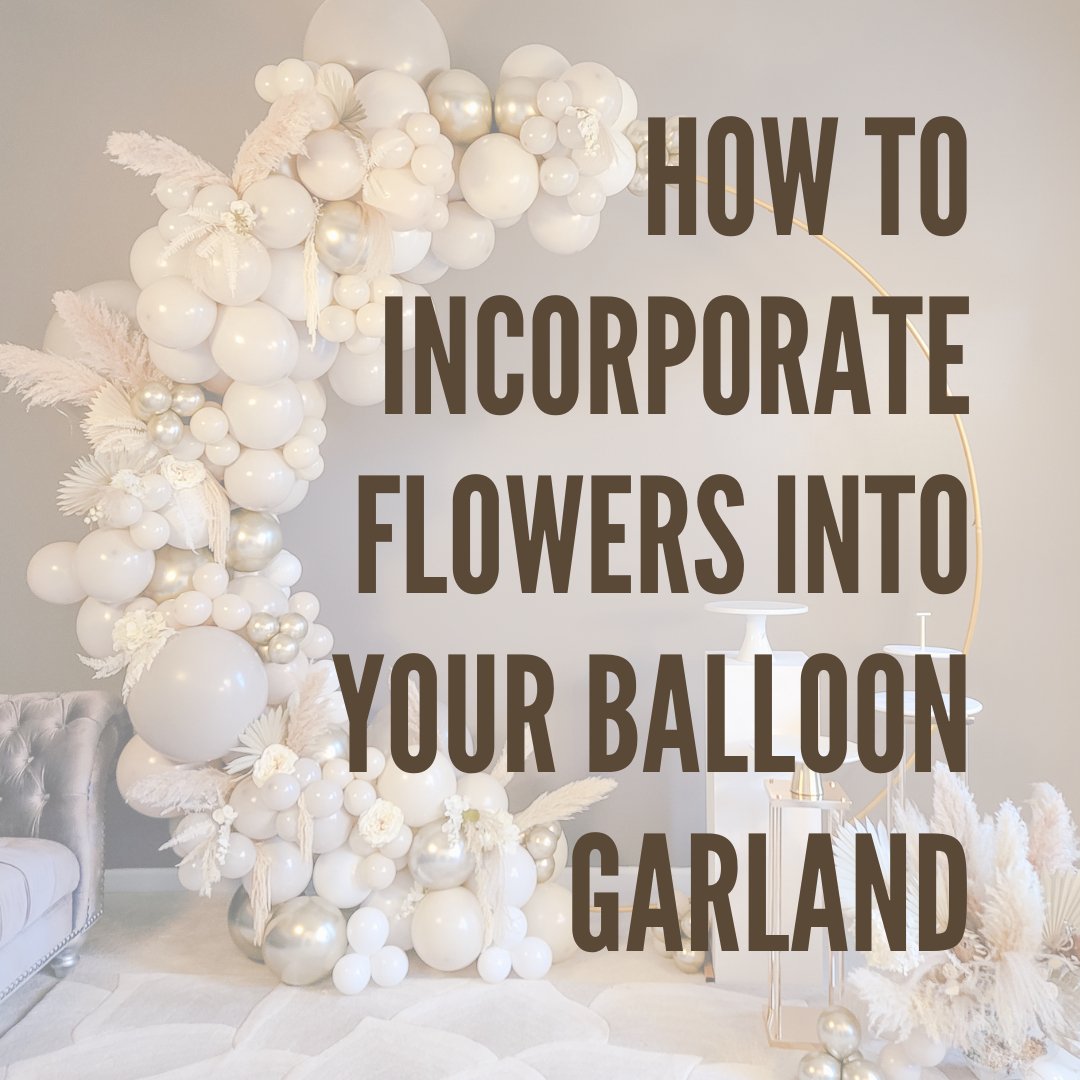
Flowers and balloons may not seem like an obvious pair, but trust us, when they come together in a balloon garland, magic happens. Whether you’re planning a wedding, a baby shower, a birthday party, or just want to add some pizzazz to your living room, the combination of flowers and balloons is a surefire way to create a stunning focal point.
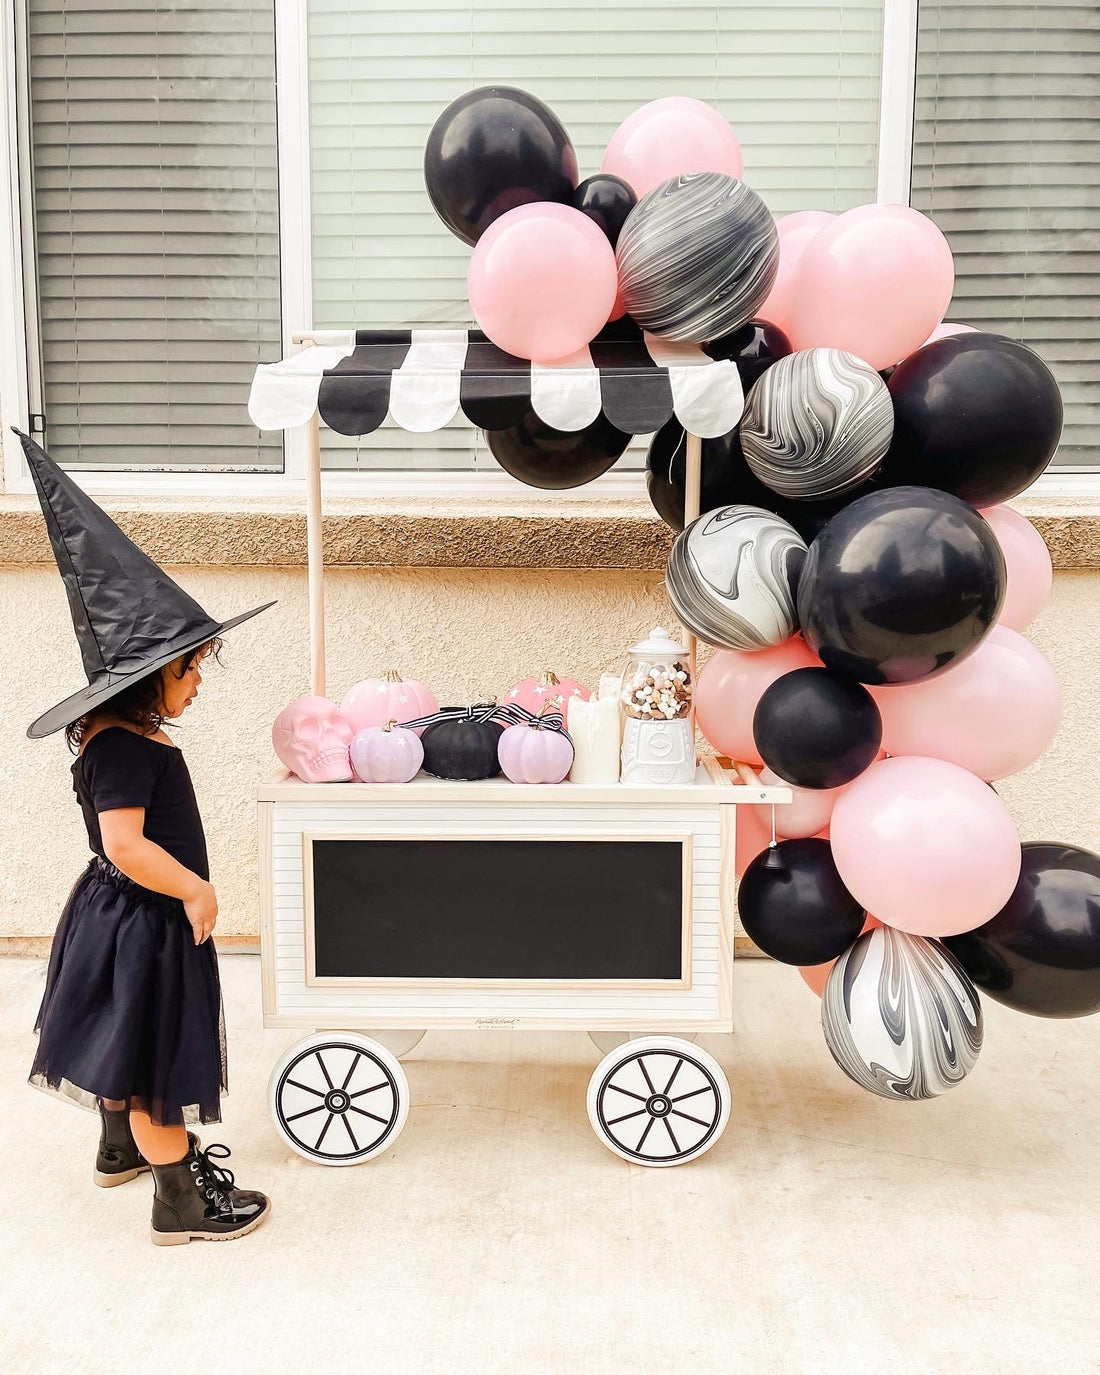
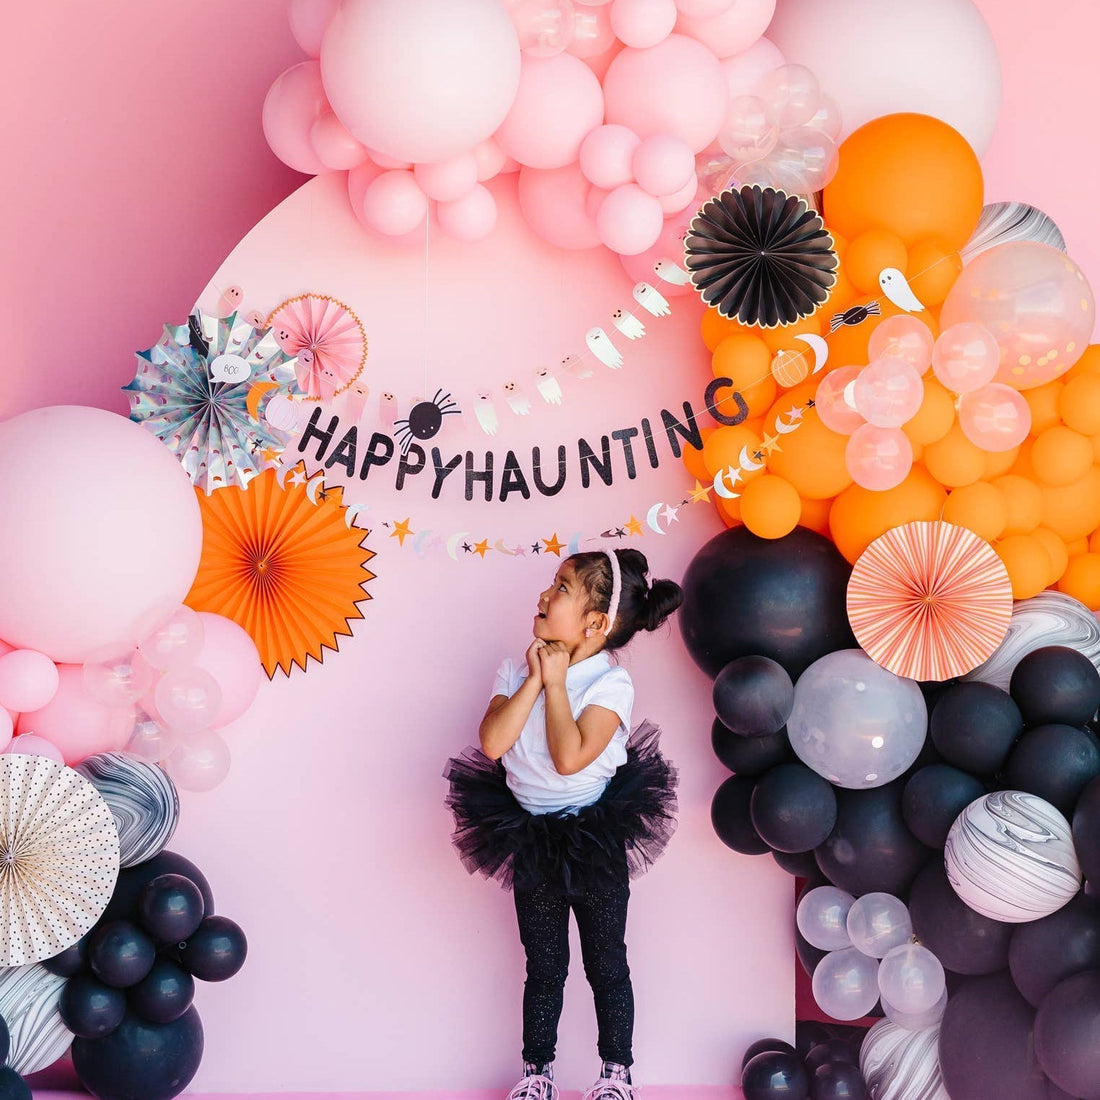
Balloon garlands have become an increasingly popular decoration for all types of celebrations. These fun displays can add a whimsical touch to any space. There are many fabulous and over-the-top designs. However, if you are creating a DIY balloon garland, it may look like a daunting task. You must consider all of the details, such as the party theme, venue, and aesthetics, such as adding flowers to your decorations.
When it comes to party decorations, balloon garlands are fun, vibrant, and a must-have for any trendy event. But if you want to take your balloon garland to the next level, why not add a touch of nature’s beauty to the mix?!
Eight Steps to Incorporating Flowers into Your Balloon Garland to Elevate Your Event Decor

In this blog, we’ll show you how to incorporate flowers into your balloon garland for a fresh, vibrant, and enchanting look that will make your family, friends, and followers swoon!
Step 1: Gather Your Supplies
Before you embark on this colorful journey, make sure you have everything you need. Here is a list of essentials:
- Balloons in your chosen color scheme
- Balloon pump (trust us on this!)
- Balloon tape or string
- A mix of fresh or artificial flowers
- Greenery (such as eucalyptus, palm leaves, etc.)
- Clear fishing line or floral wire
- Command/adhesive hooks
- A Balloon Garland Kit often includes balloon tape and glue dots
The theme or occasion will greatly influence the color choices of your balloon garland. For instance, a baby shower might call for soft pastels, while a birthday party could be more vibrant and bold in its color scheme. You have a variety of styles to choose from to match your event theme.
Once you have your inspiration, make a list of preferred colors and other details that may be incorporated into your event. If you hire a certified balloon artist, then you will only need to provide your inspo and they will take care of all of the materials!
Step 2: Choose Your Color Palette
First things first, decide on the color scheme for your balloon garland. Pink, monochromatic shades, or maybe a tropical fiesta? The choice is yours! Make sure your flower selection complements your chosen colors for a cohesive look.
Keeping up with the current color trends can help you create a modern and visually appealing balloon arch. For example, in recent years, pastel shades, muted earthy tones, and metallic accents have been all the rage
Embracing color trends will give you plenty of inspiration to choose from on Instagram and Pinterest. Your event theme will also direct you toward a particular color palette, making your decision a bit easier.

In a rainbow of colors, no matter the color trend you choose, our custom balloon garland builder can help you pick the perfect colors!
Step 3: Inflate Your Balloons
Time to use your balloon pump to inflate all of the balloons! This will take some time, so allow yourself some hours before your event, or even the day or two before to prep.
Our kits come with 5, 11, and 17-inch balloons. The 5-inch balloons are best blown up with a hand pump, while the larger balloons with an electric air pump.

Vary the sizes for a dynamic effect - think big and small balloons combined. Knot them, but don’t tie them too tight; you’ll need some room to attach them later!

How long do our balloons last? Since the balloons will be air-filled, they will last 5-7 days when out of direct heat and sunlight! We usually recommend setting up your garland 1-2 days before your event.
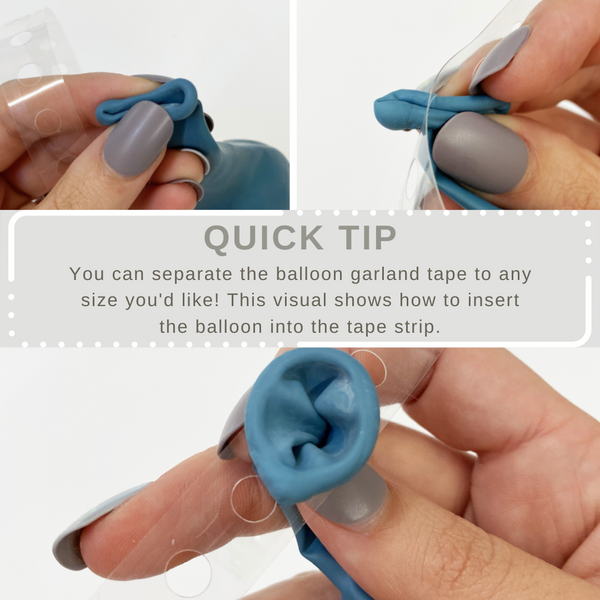
Step 4: Create the Balloon Garland Base
Start by measuring the area where you want to hang your balloon garland. Cut your balloon tape or string to fit this length, plus a little extra for adjustments. Attach the balloon tape to your hooks, ensuring it’s secure.
Quick Tip: It is best to start with the middle to determine the length you have above and below it, whether it be on an arch structure, with a backdrop, or hung from a wall.
Now, it’s time to start attaching those balloons. Space them evenly along the tape, mixing up the sizes and colors to create a balanced and eye-catching effect. You can secure the balloons by simply twisting the balloon’s knot around the tape.
After you create the balloon garland base with the larger 11-inch and 17-inch balloons, you can attach the 5-inch balloons by using glue dots to fill in the space. To really make your balloon garland stand out, add giant 3-foot balloons to the base.
A popular approach is to use a primary color as a base and then add complementary or contrasting colors as accents. Don’t be afraid to mix and match colors to create a visually stunning balloon garland. Even if the party has a neutral color scheme, you will have fun accessories to add for detail to give your decoration depth and dimension.

If this is your first time creating a balloon garland or arch, take a look at our guide here! Or if you are having a difficult time picking out your colors, this blog will help you determine what colors look best together.
Step 5: Add in the Greenery
Once your balloon garland base is well covered with balloons, it’s time to bring in stylish accessories, like greenery! Take your greenery (eucalyptus is a favorite!) and use the clear fishing line or floral wire to secure it to the balloon garland. Arrange it sporadically, weaving it through the balloons for a lush, garden-inspired look.

Your personal preferences matter! Consider what you believe looks best while also reflecting your style and personality. Greenery doesn’t necessarily need to be green, you could have gold or white leaves incorporated for a stunning backdrop.
If you have a favorite color or a particular color combination that you find aesthetically pleasing, don’t hesitate to incorporate it into your garland. This is also true for the theme, whether you want a trendy or classic theme, be sure to choose one that you will be happy with.
Step 6: Integrate the Blooms
This is where the magic happens! Take your chosen fresh or artificial flowers and trim the stems to about 3-4 inches. Attach the flowers to the balloon garland using the same method as the greenery - a clear fishing line or floral wire is your best friend here.

Scatter the flowers throughout the garland for a whimsical, garden-fresh vibe. The combination of balloons, greenery, and flowers will make your garland pop.
It’s important to take into account the blooms that will be in season during your event if you plan to use fresh flowers. If you are on a tight budget, a mixture of fresh and faux flowers will still provide you with the look you are going for.
Step 7: Finishing Touches
With your balloon garland looking picture-perfect, it’s time to hang it up. Use the hooks you’ve prepared earlier and attach the garland to your party backdrop, wall, or wherever you want it to shine.

If you notice any gaps or uneven spacing, now’s the time to make adjustments. Tweak the balloons and flowers until everything looks just right. You can also trim any excess fishing line or wire to keep it neat.
Balloon arches make a beautiful statement all on their own, but it takes a little practice to replicate the inspiration you see from professionals. Embrace this new skill and challenge yourself with each new garland you build.
Step 8: Snap and Share
Stand back and admire your creation. You’ve created a breathtaking focal point that combines the playful spirit of balloons with the timeless elegance of flowers.
Don’t forget the most important part - share your masterpiece on social media! Get that perfect Instagram shot, show off your flower-infused balloon garland, and share it with friends and family.
While trends come and go, balloons will always be around to add that magical touch to your event. Sharing these special moments with friends and family, close and far, are memories to last a lifetime.
Conclusion
Incorporating flowers into your balloon garland takes your event decor to the next level. Whether you’re aiming for a romantic, bohemian, or modern look, this creative combination is sure to impress your guests and create a lasting impression.
With a little creativity and a handful of balloons and flowers, you can transform any event into a whimsical wonderland. Whether it’s a birthday party, bridal shower, or just a casual get-together, your flower-infused balloon garland is sure to steal the spotlight.
If you need help choosing a theme or would like to create a custom balloon theme, please check out our balloon kit options!
Subscribe to Ellie’s Party VIP list and get a 15% discount on your next order, with no minimum purchase required!
So go ahead, unleash your inner artist, and let your DIY balloon garland and floral fantasies come to life!