

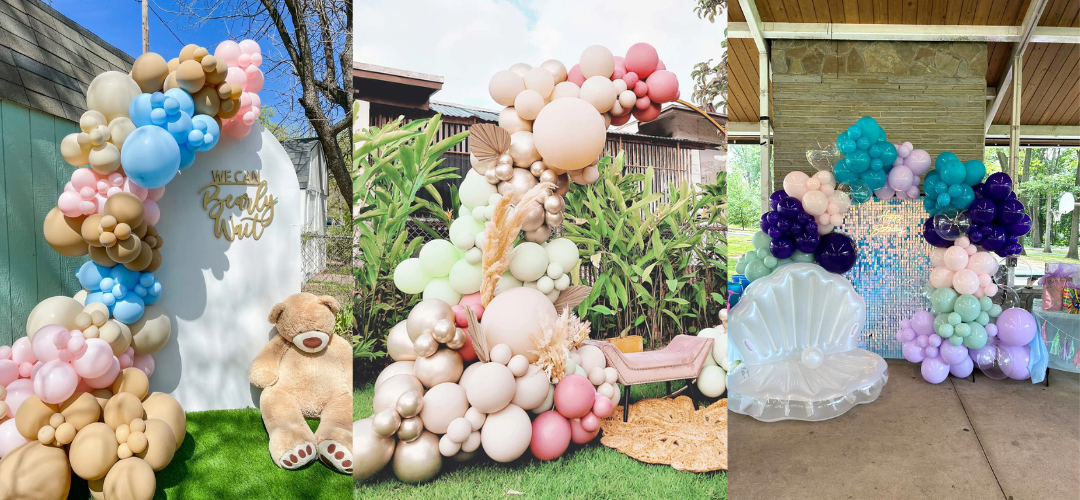
From a young age, we associate balloons with celebrations. Every party should have a WOW factor and these trendy balloon arches can create any vibe to fit your event.Building a balloon arch might seem a bit daunting, but we are here to help! This guide should help save you time and will cover step-by-step instructions and tips to make this a seemingly easy task! Our balloon arches at Ellie's Party Supply are bold, fun, and surprisingly simple to put together, no experience required!
If you’re not sure where to start in making a balloon arch, this ultimate guide will help you from beginning to end.
The Step-by-Step Guide to Making Your Balloon Arch
Let’s jump into our step-by-step guide in building your balloon arch!
For our visual learners, we put together an 11-minute video with step-by-step instructions on how to construct your balloon garland. We'll show you our techniques for constructing the arch, plus guide you through some Pro Tips to make it look designer-quality!
Or, scroll down to keep reading.
Two Ways to Build It (Pick Your Favorite)
We're not gatekeeping here. There are two ways to put these balloons together, and both work if you've never made a garland before.
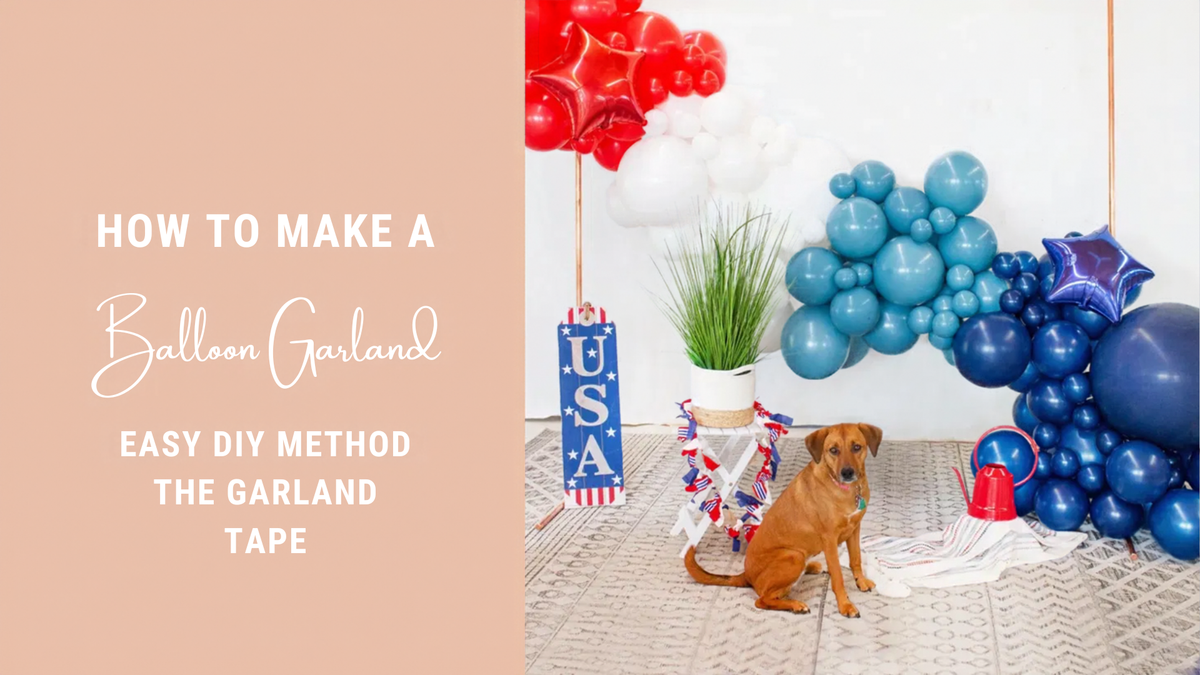
The tape method (the video above) uses the garland tape and glue dots that come in our kits. It's easy to repeat and a really good place to start.
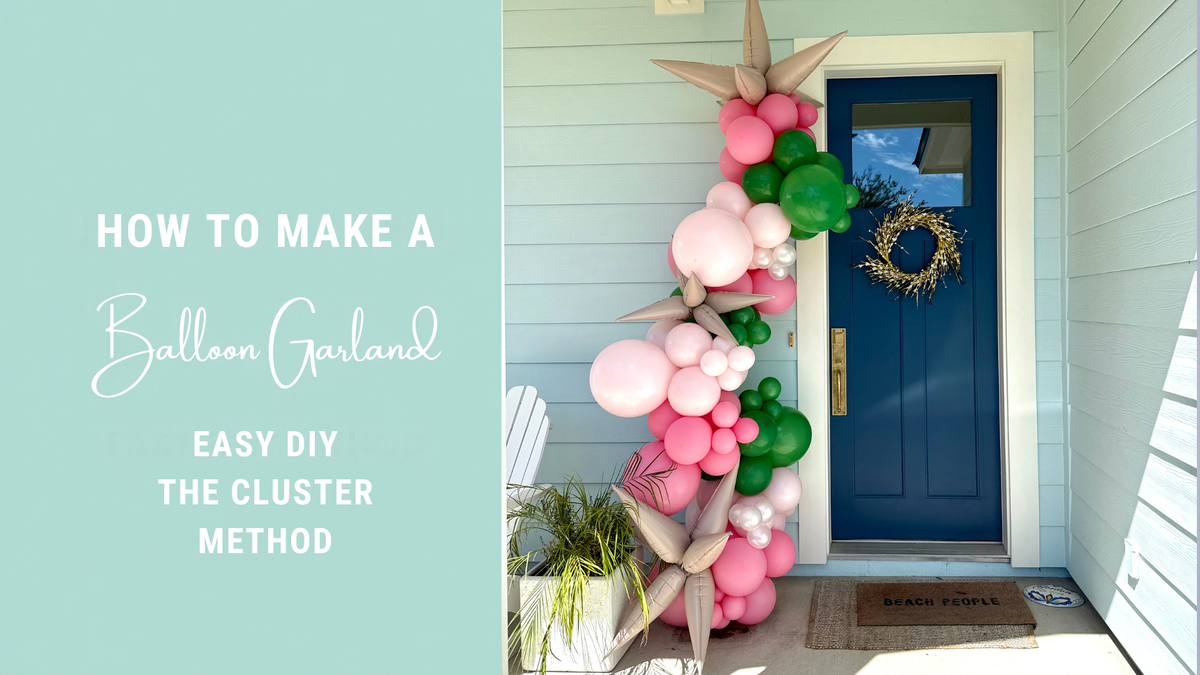
The cluster method (the video below) is our newest way to build, and it's the fastest one if you have an electric balloon pump. Anybody can do it (moms, dads, teenagers), so feel free to start right here.
It's also your backup plan. Say you grabbed a garland kit plus a couple of extra balloon packs for more fluff, and then you ran out of garland tape. Build the extras into clusters and tuck them right in.
It works with any balloons, but we recommend ours. We already picked the highest-quality balloons, portioned them out, and tested the recipe, so all that's left is the fun part.
Decide on the Right Balloon Garland Kit for Your Venue
1. Choose Your Venue
By choosing a venue, you will have a general idea of the space you are working with and where you would like your balloon arch placed. Consider measuring the area you're going to place the garland.
2. Decide Which Size Garland You Need
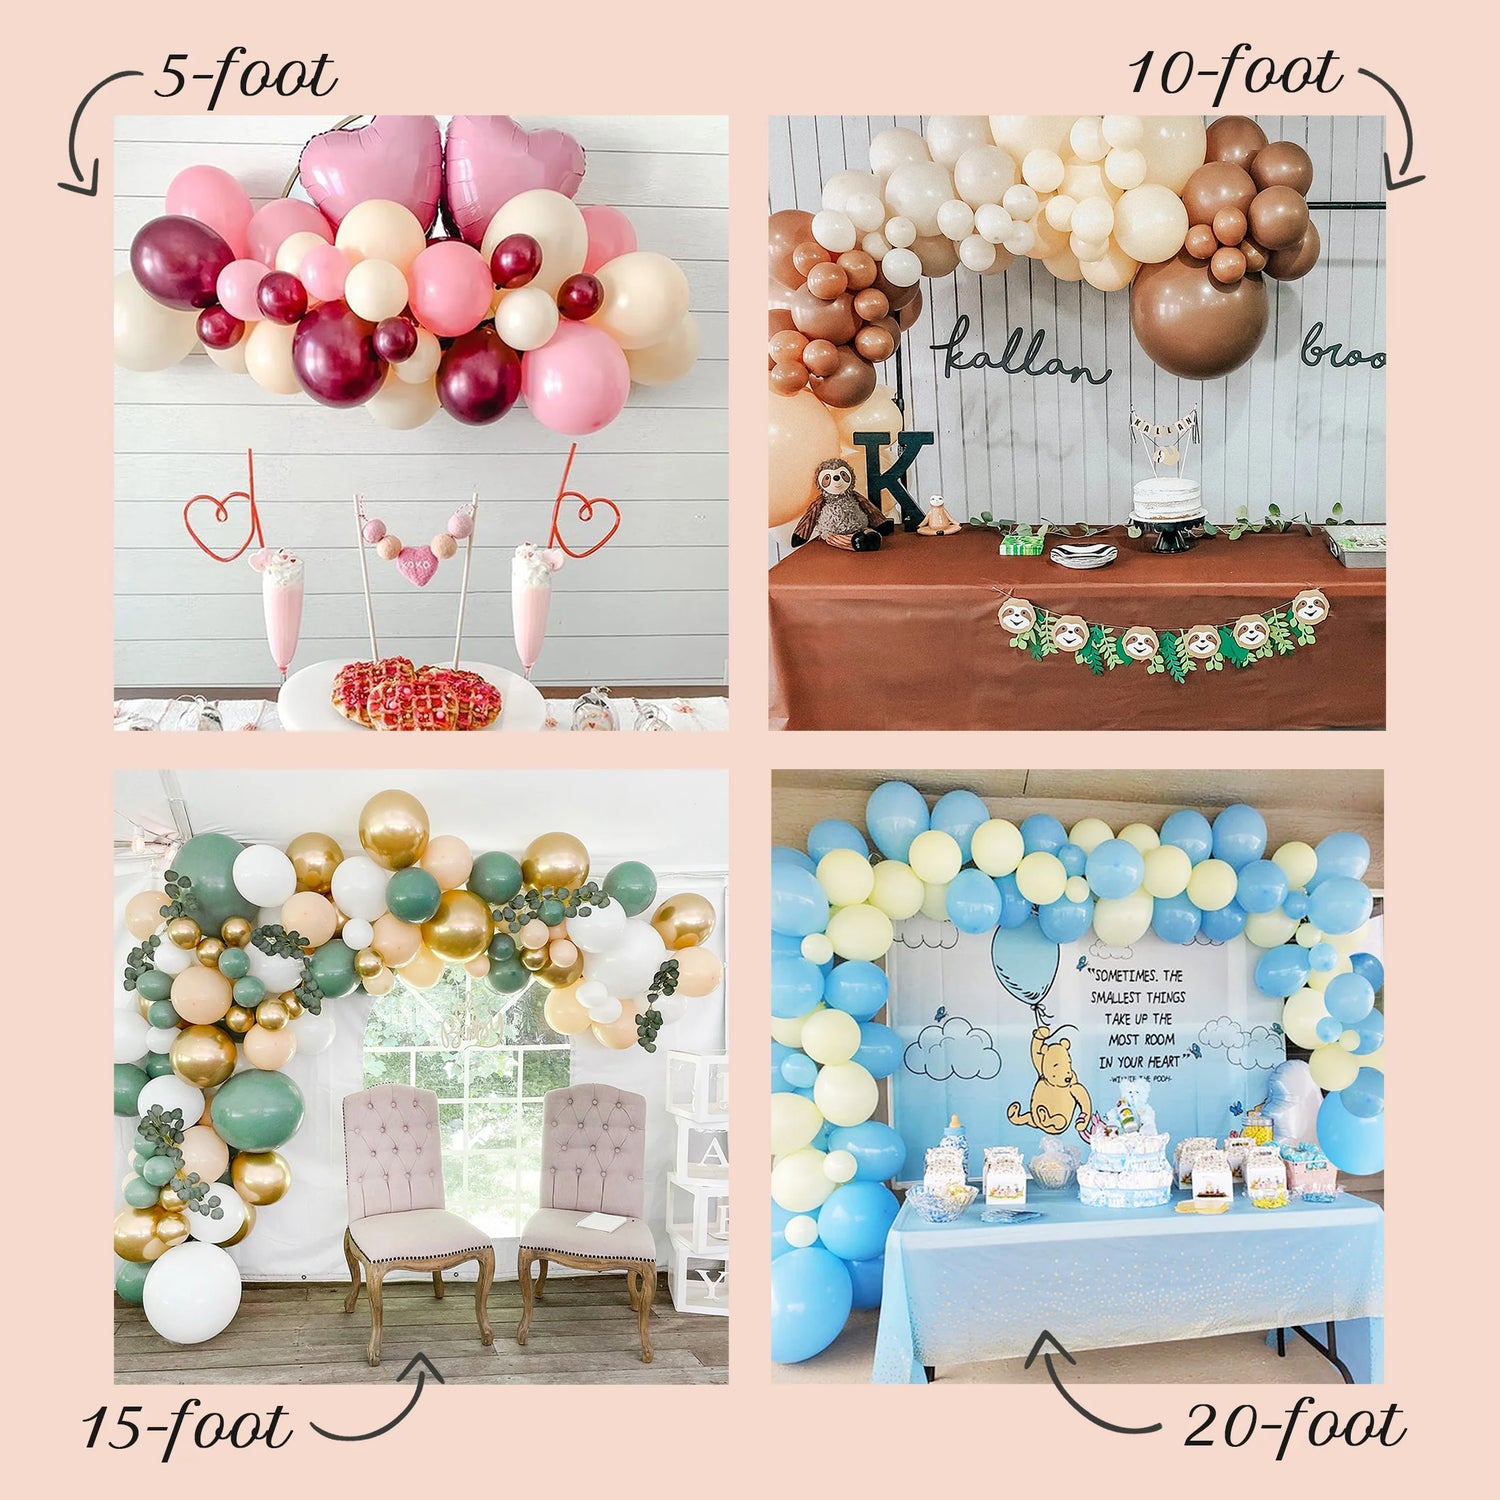
With the venue chosen, now we need to decide on the length of the balloon garland. At Ellie's Party Supply, we offer 5ft, 10ft, 15ft and 20ft garland kits.
Below are the approximate amounts you get with each kit, in a variety of balloon sizes:
- The 20ft garland: about 200 balloons.
- The 15ft garland: about 150 balloons.
- The 10ft garland: about 100 balloons.
- The 5ft garland: about 50 balloons.
This visual size guide should help you determine the size you need to fit your space:
3. Purchase Your Balloon Arch Kit
We recommend purchasing a balloon kit that has everything you need to easily construct your balloon garland. Customers say it saves them a lot of time and money over finding all of the sizes and colors of balloons they need individually.
Head over to ElliesParty.com to find the kit with balloon colors that coordinate with your theme. To help make your decision easier, we have many themes to choose from. However, we also offer custom orders if you don’t see what you are looking for, where you can select your own colors! (Psst... join our email list and get 15% off your first order.)
Beginner Tips: Our balloon arch kits come with a detailed how-to-guide to make assembly a breeze! The kit includes a variety of super high-quality balloons in three sizes: 5”, 11” and a large size (14” to 18”, depending on the color), garland tape to string balloons onto, and glue dots to attach mini 5” balloons.
Explore Balloon Garlands Kits
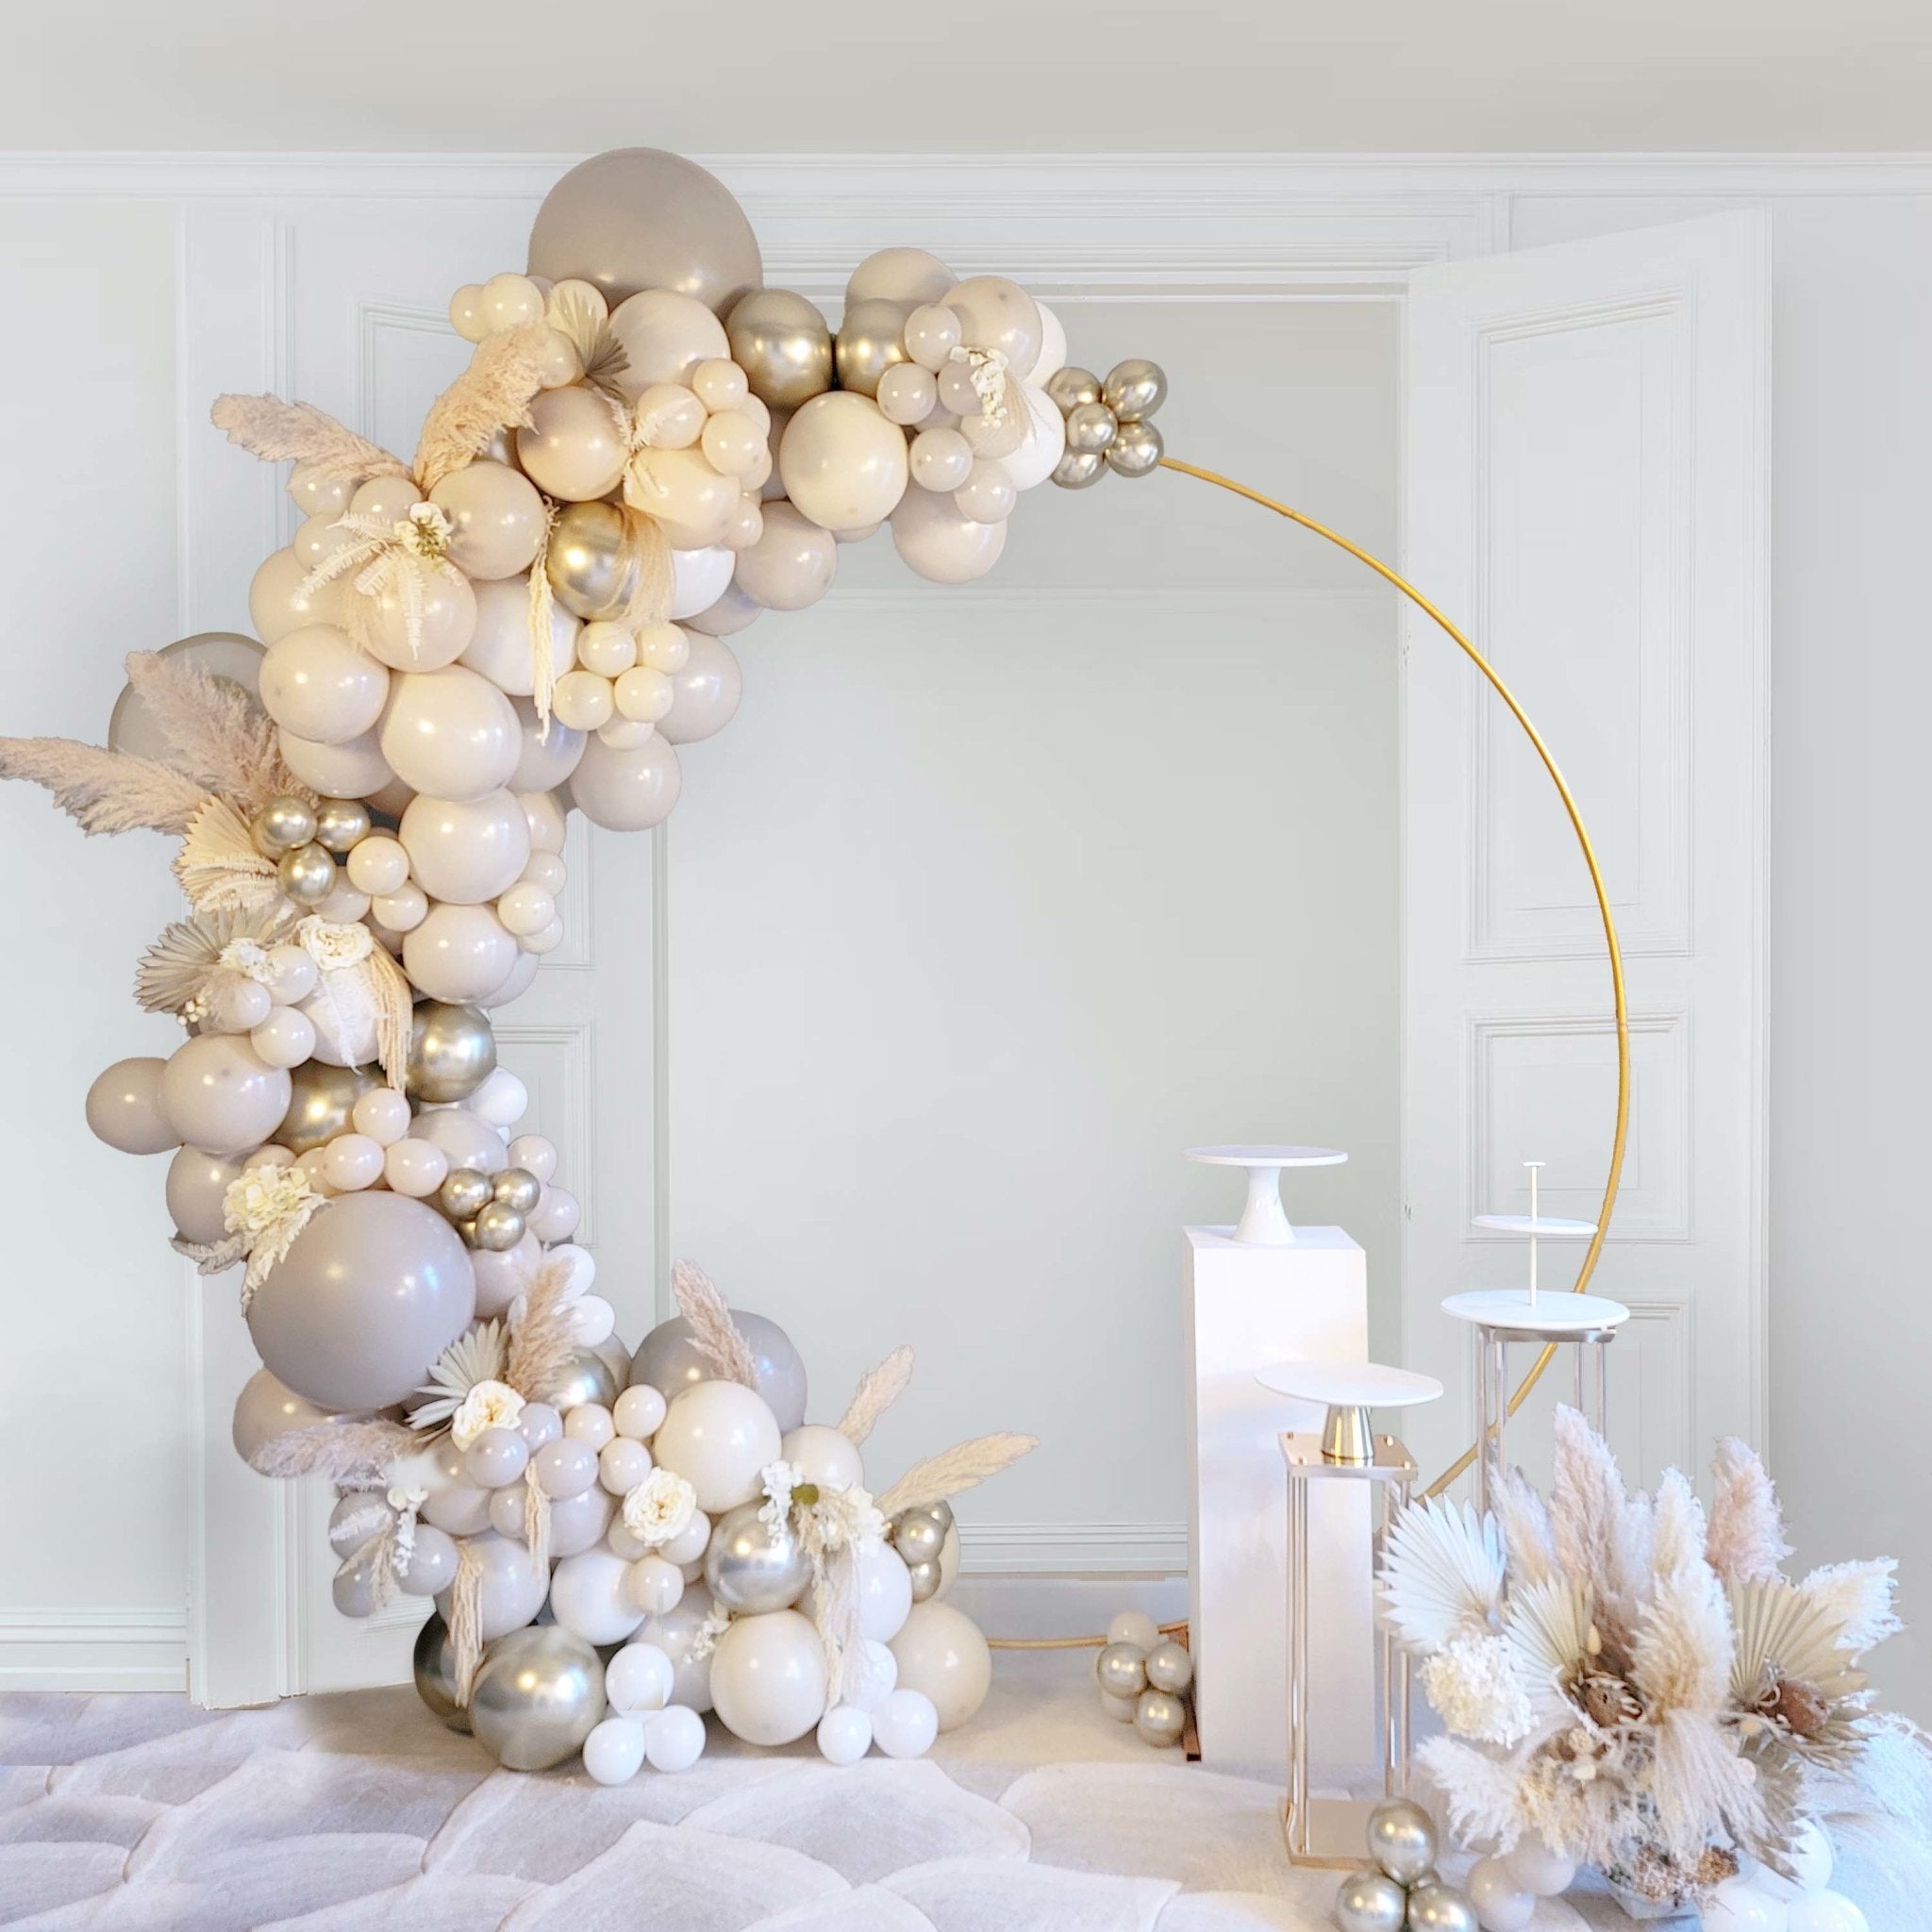

Neutral Boho Balloon Garland Kit – Linen, Gray, Gold, White
15ft kit · more sizes inside

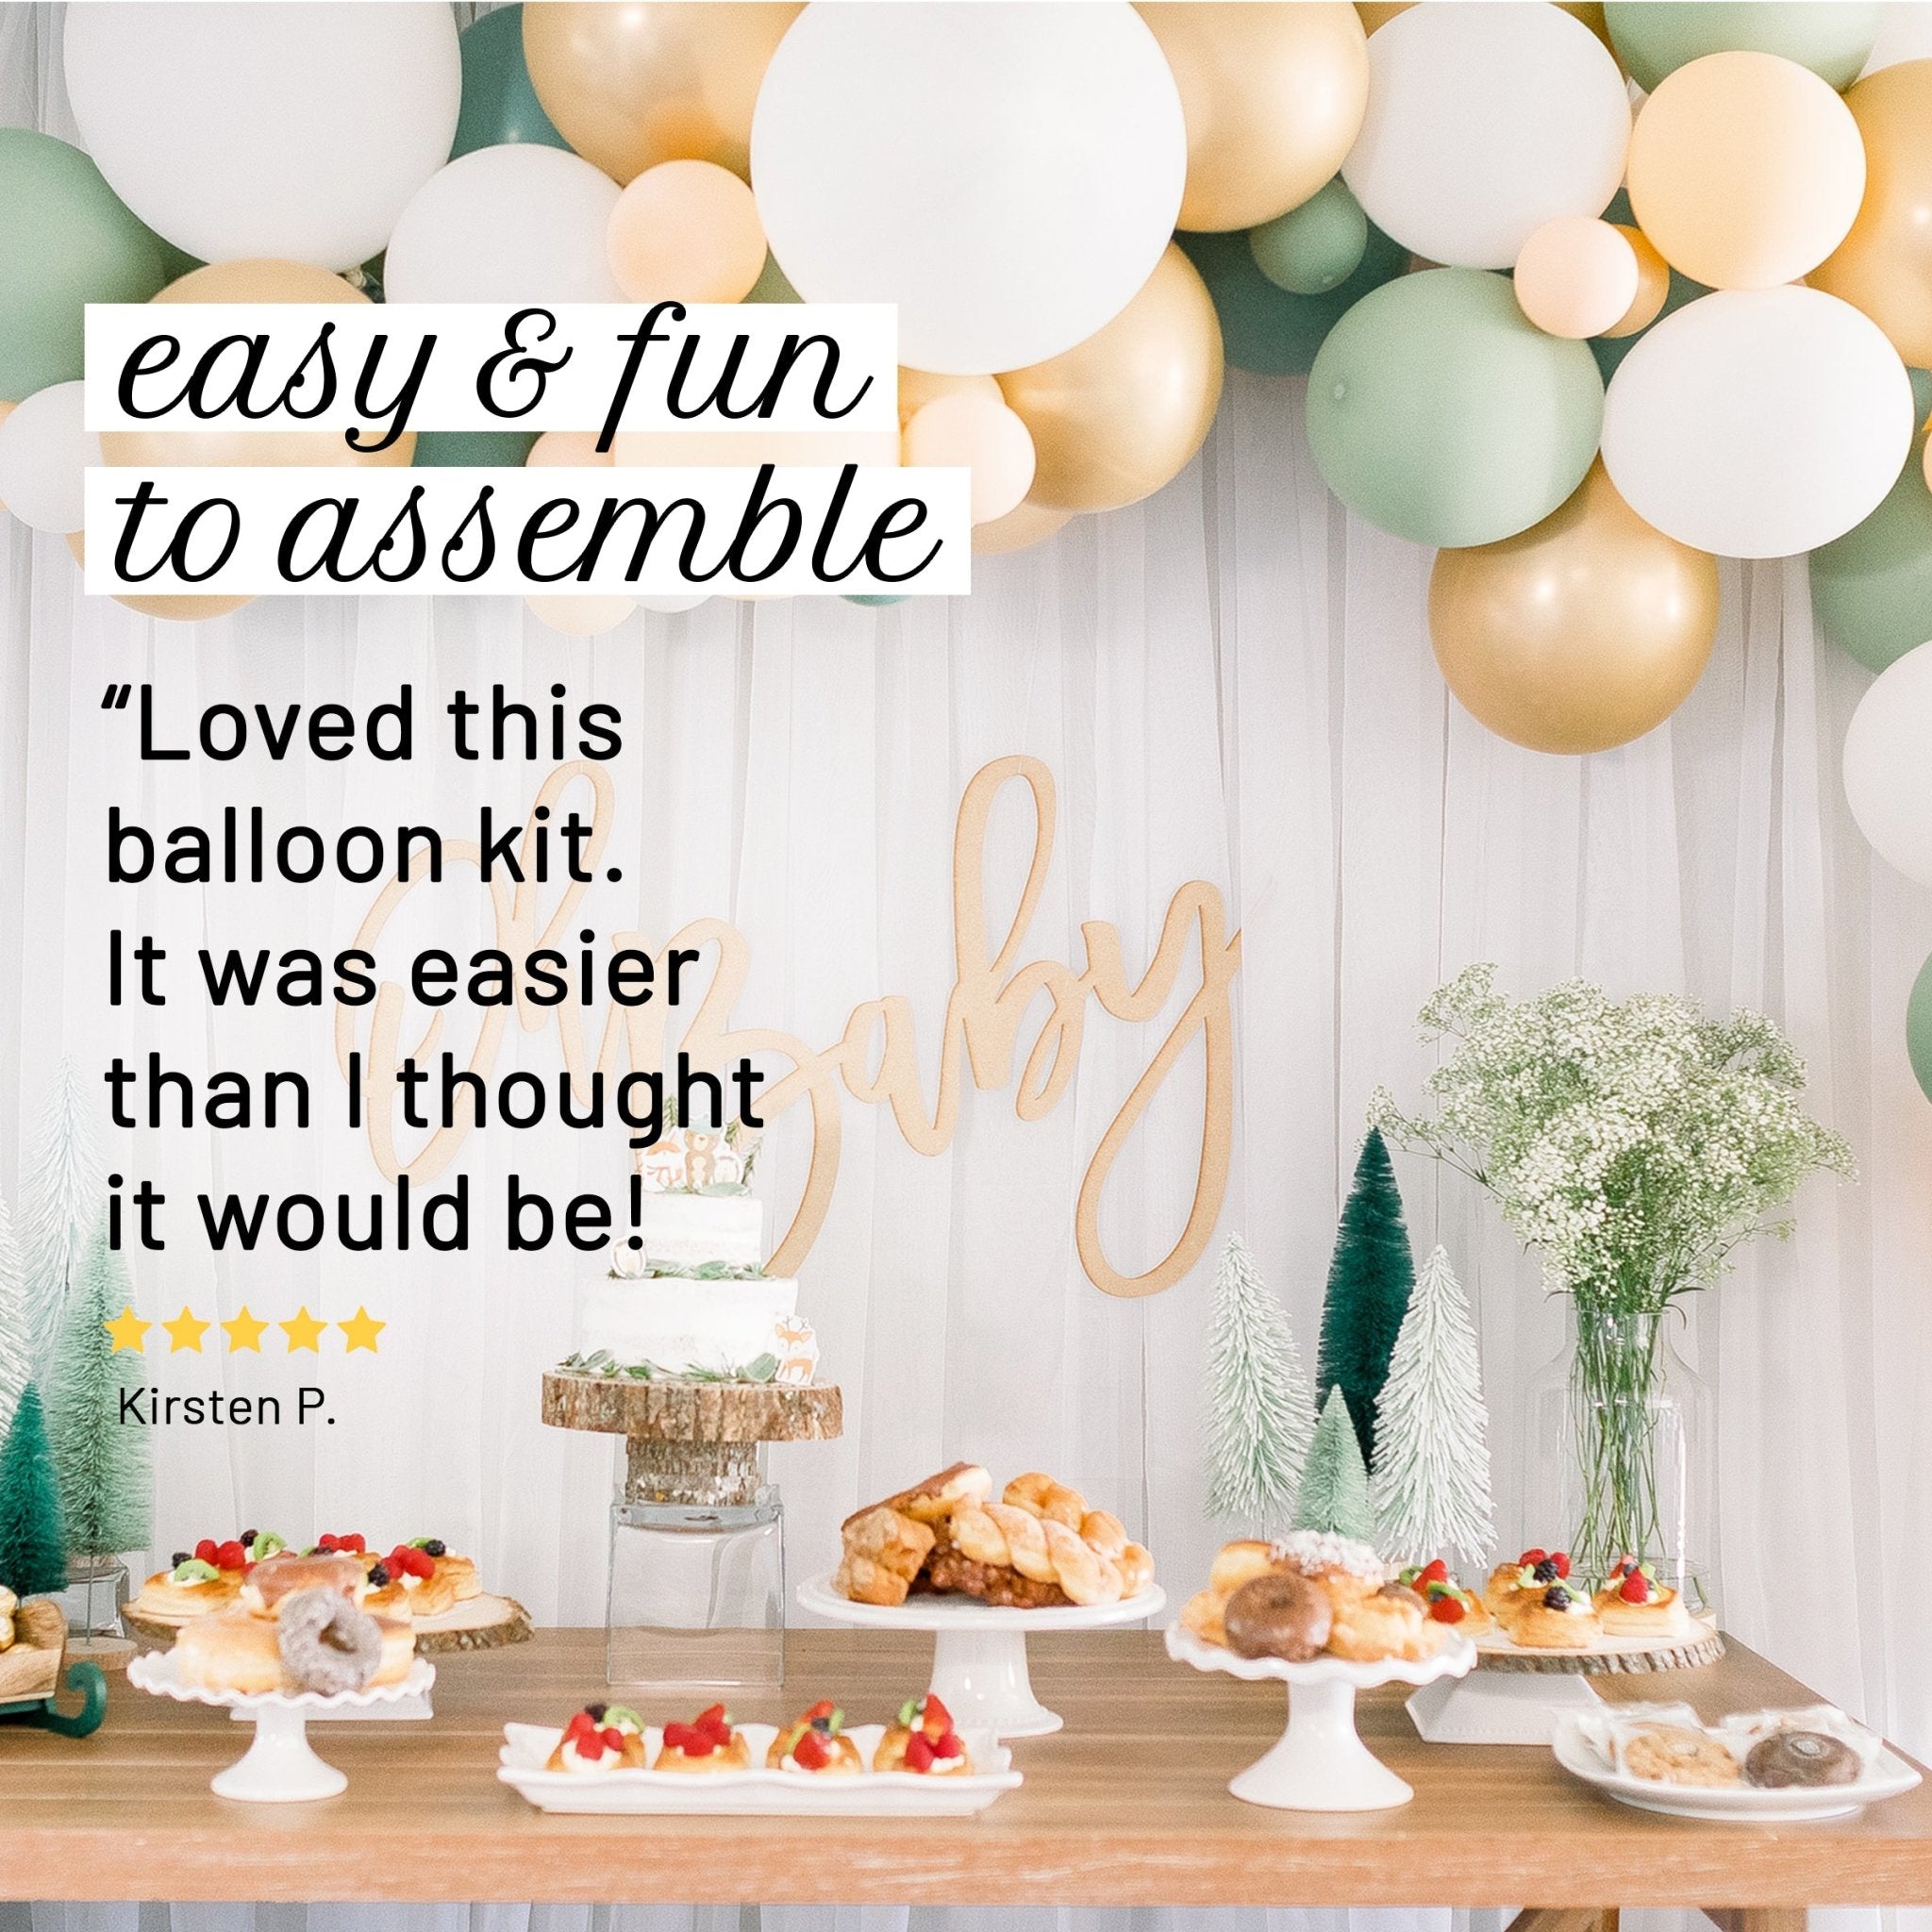
Boho Safari Balloon Garland Kit | Sage Green White Gold DIY Arch
15ft kit · more sizes inside
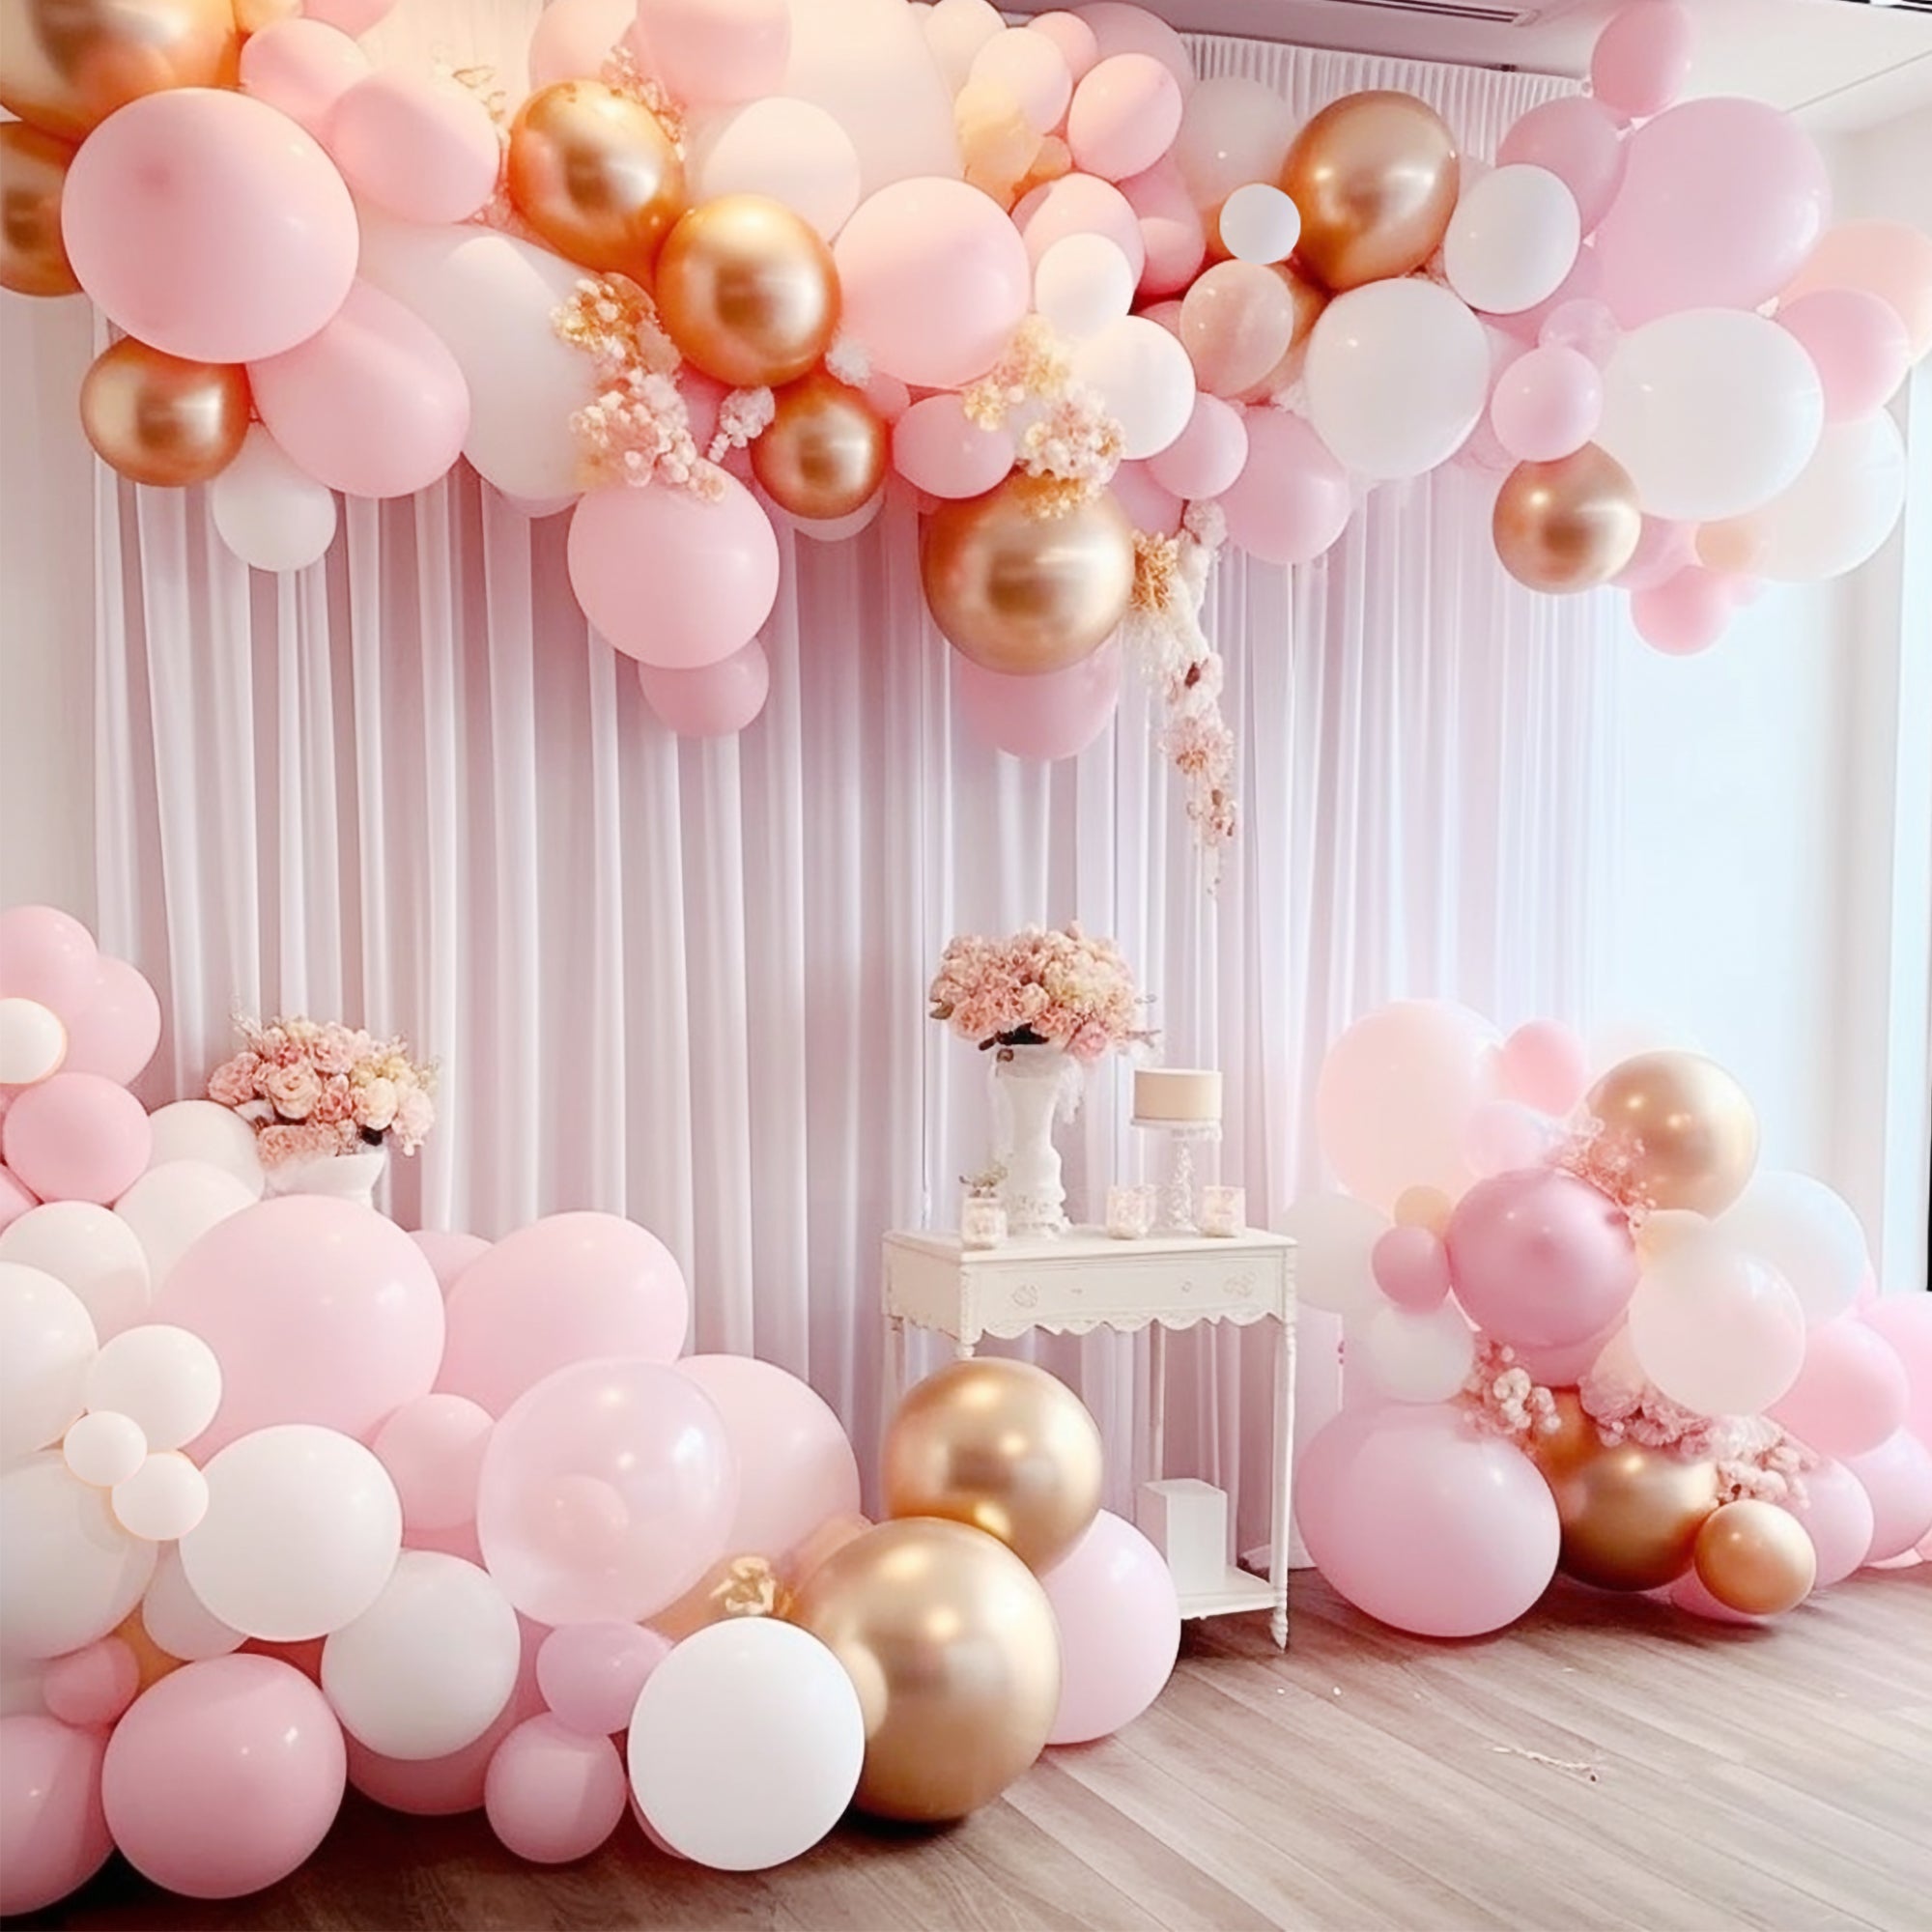
Pink & Gold Balloon Garland Kit
15ft kit · more sizes inside
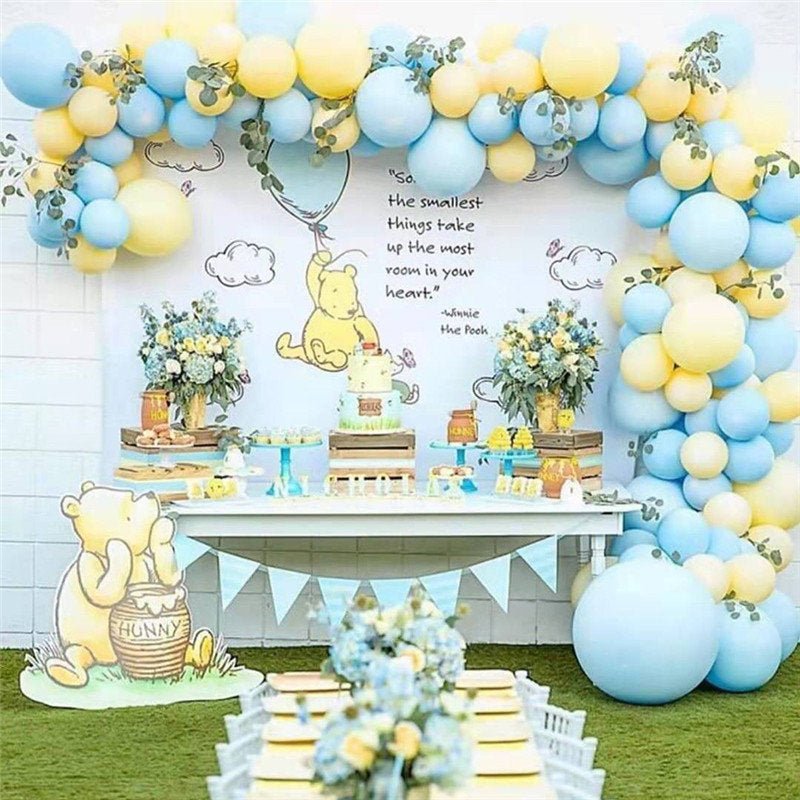
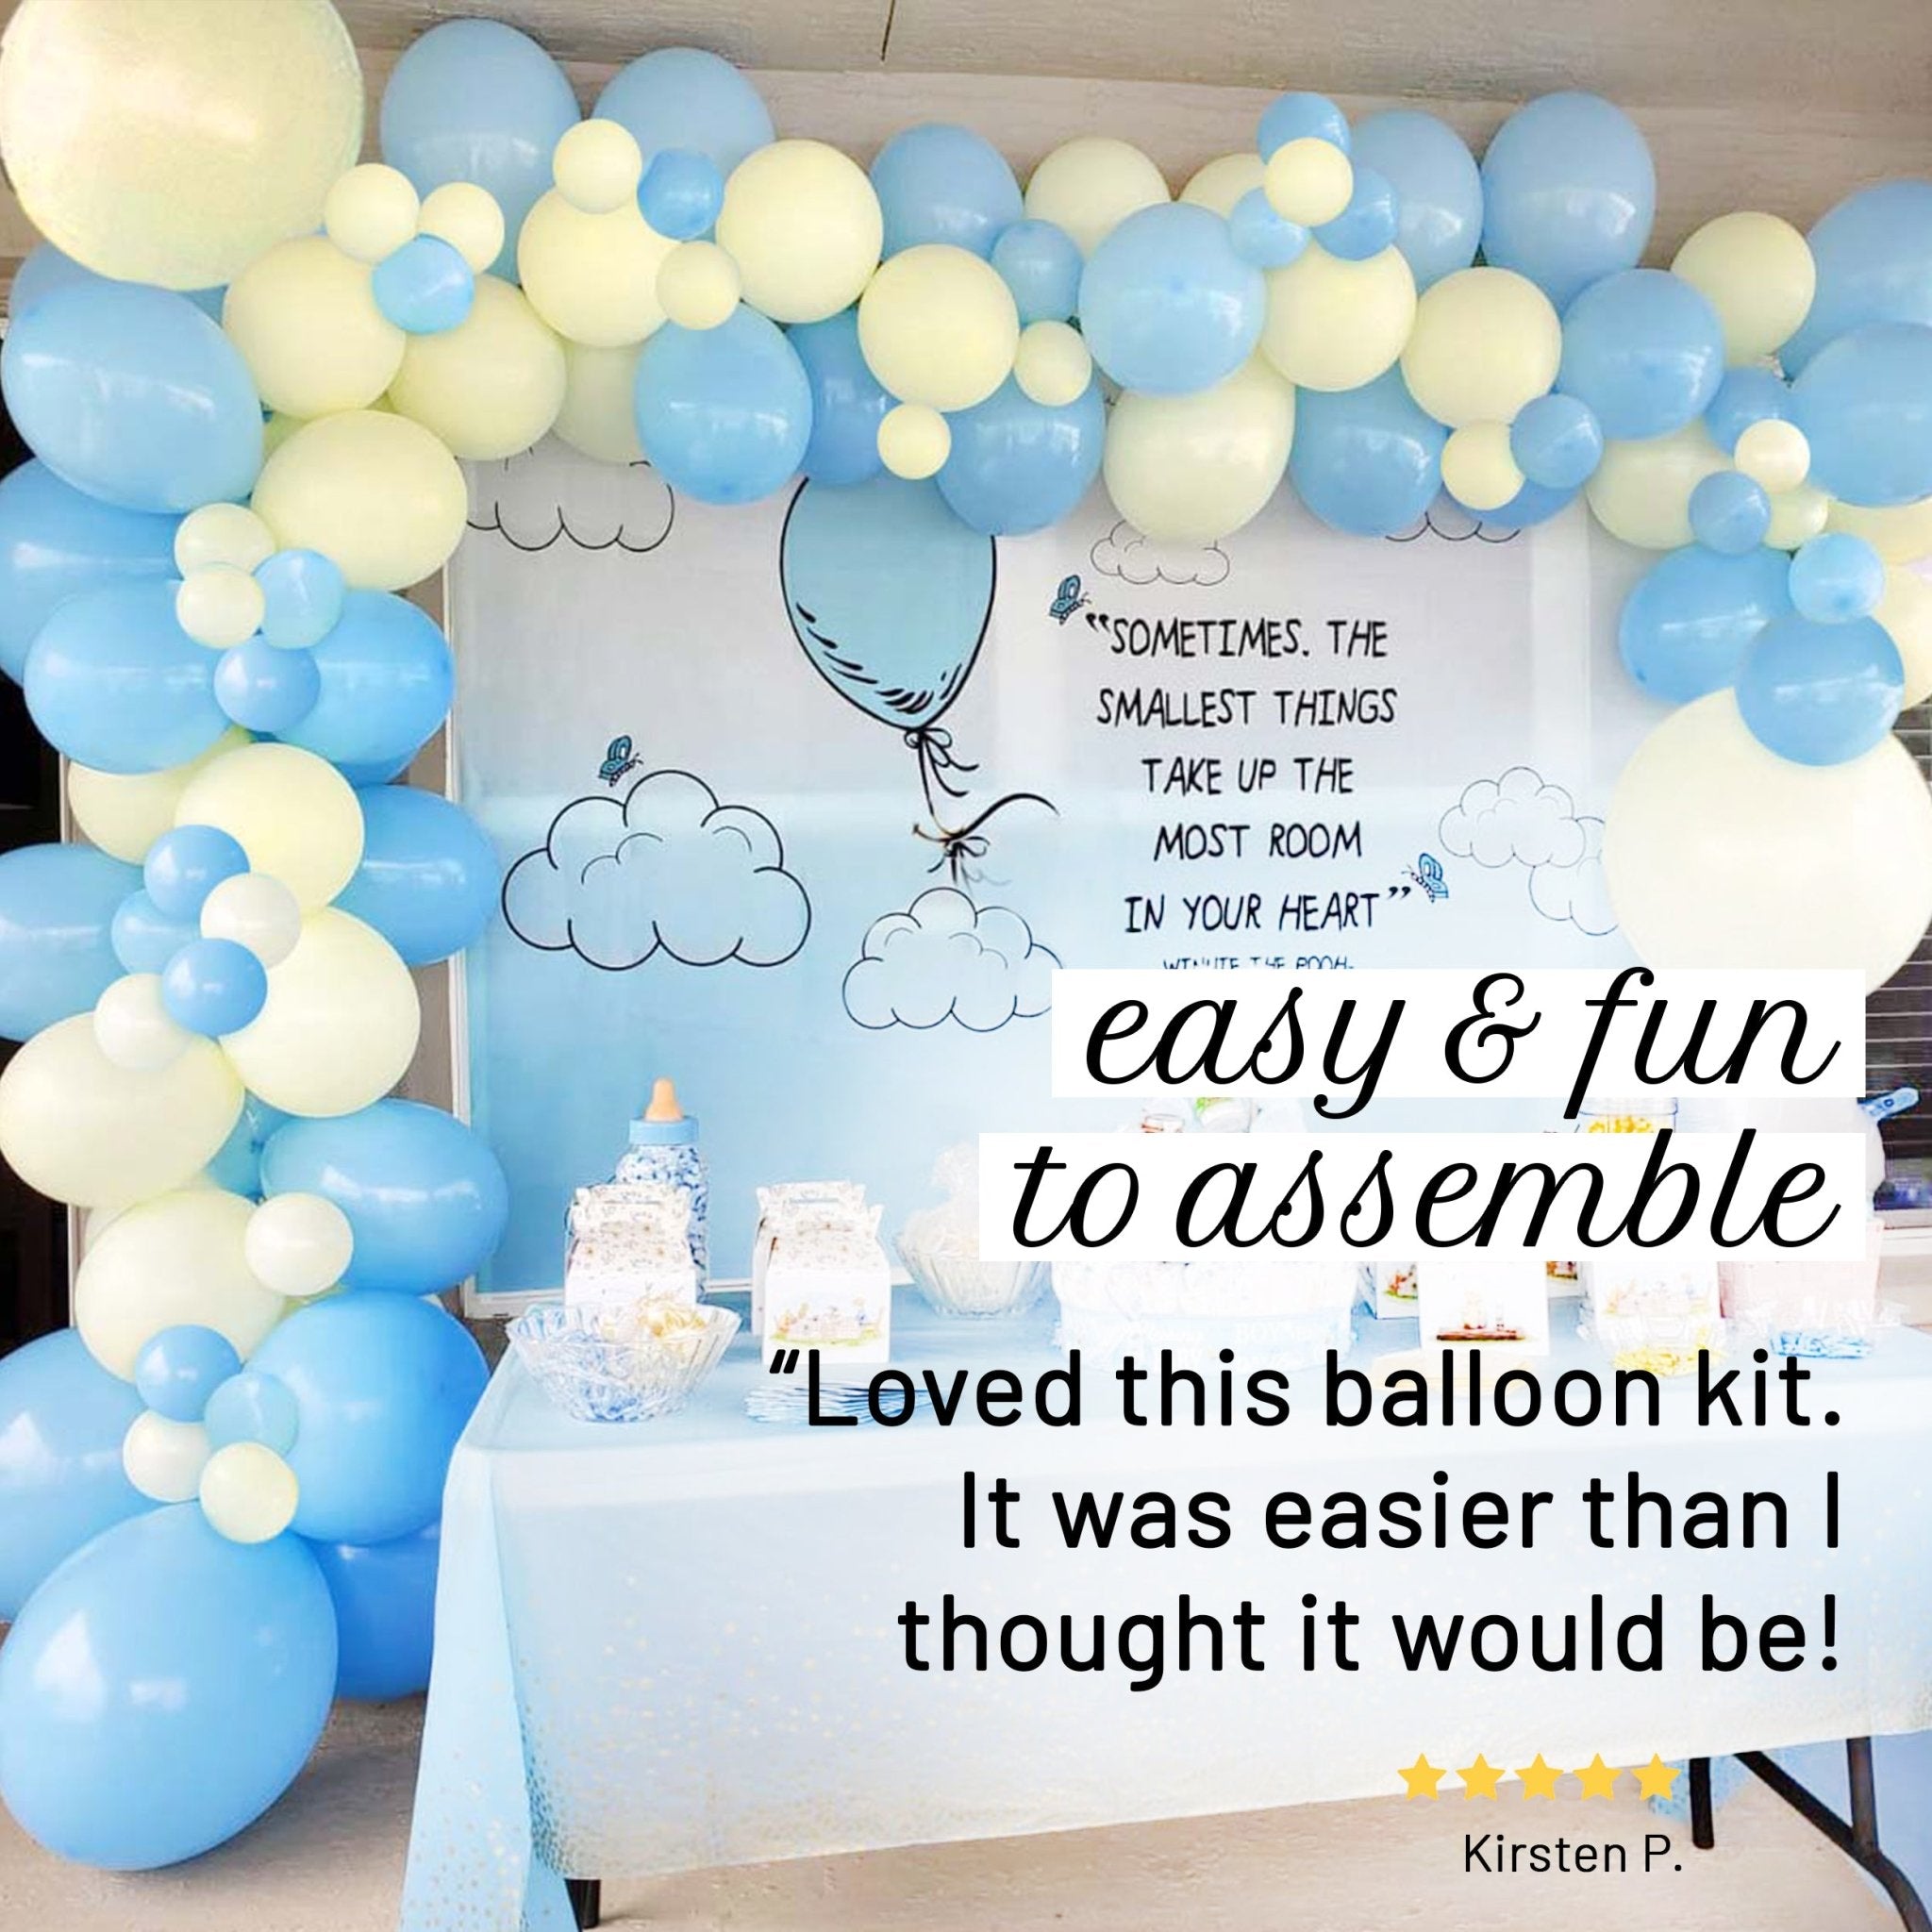
Pastel Blue & Yellow Balloon Garland Kit | First Bee Day & Baby Shower DIY Arch
15ft kit · more sizes inside
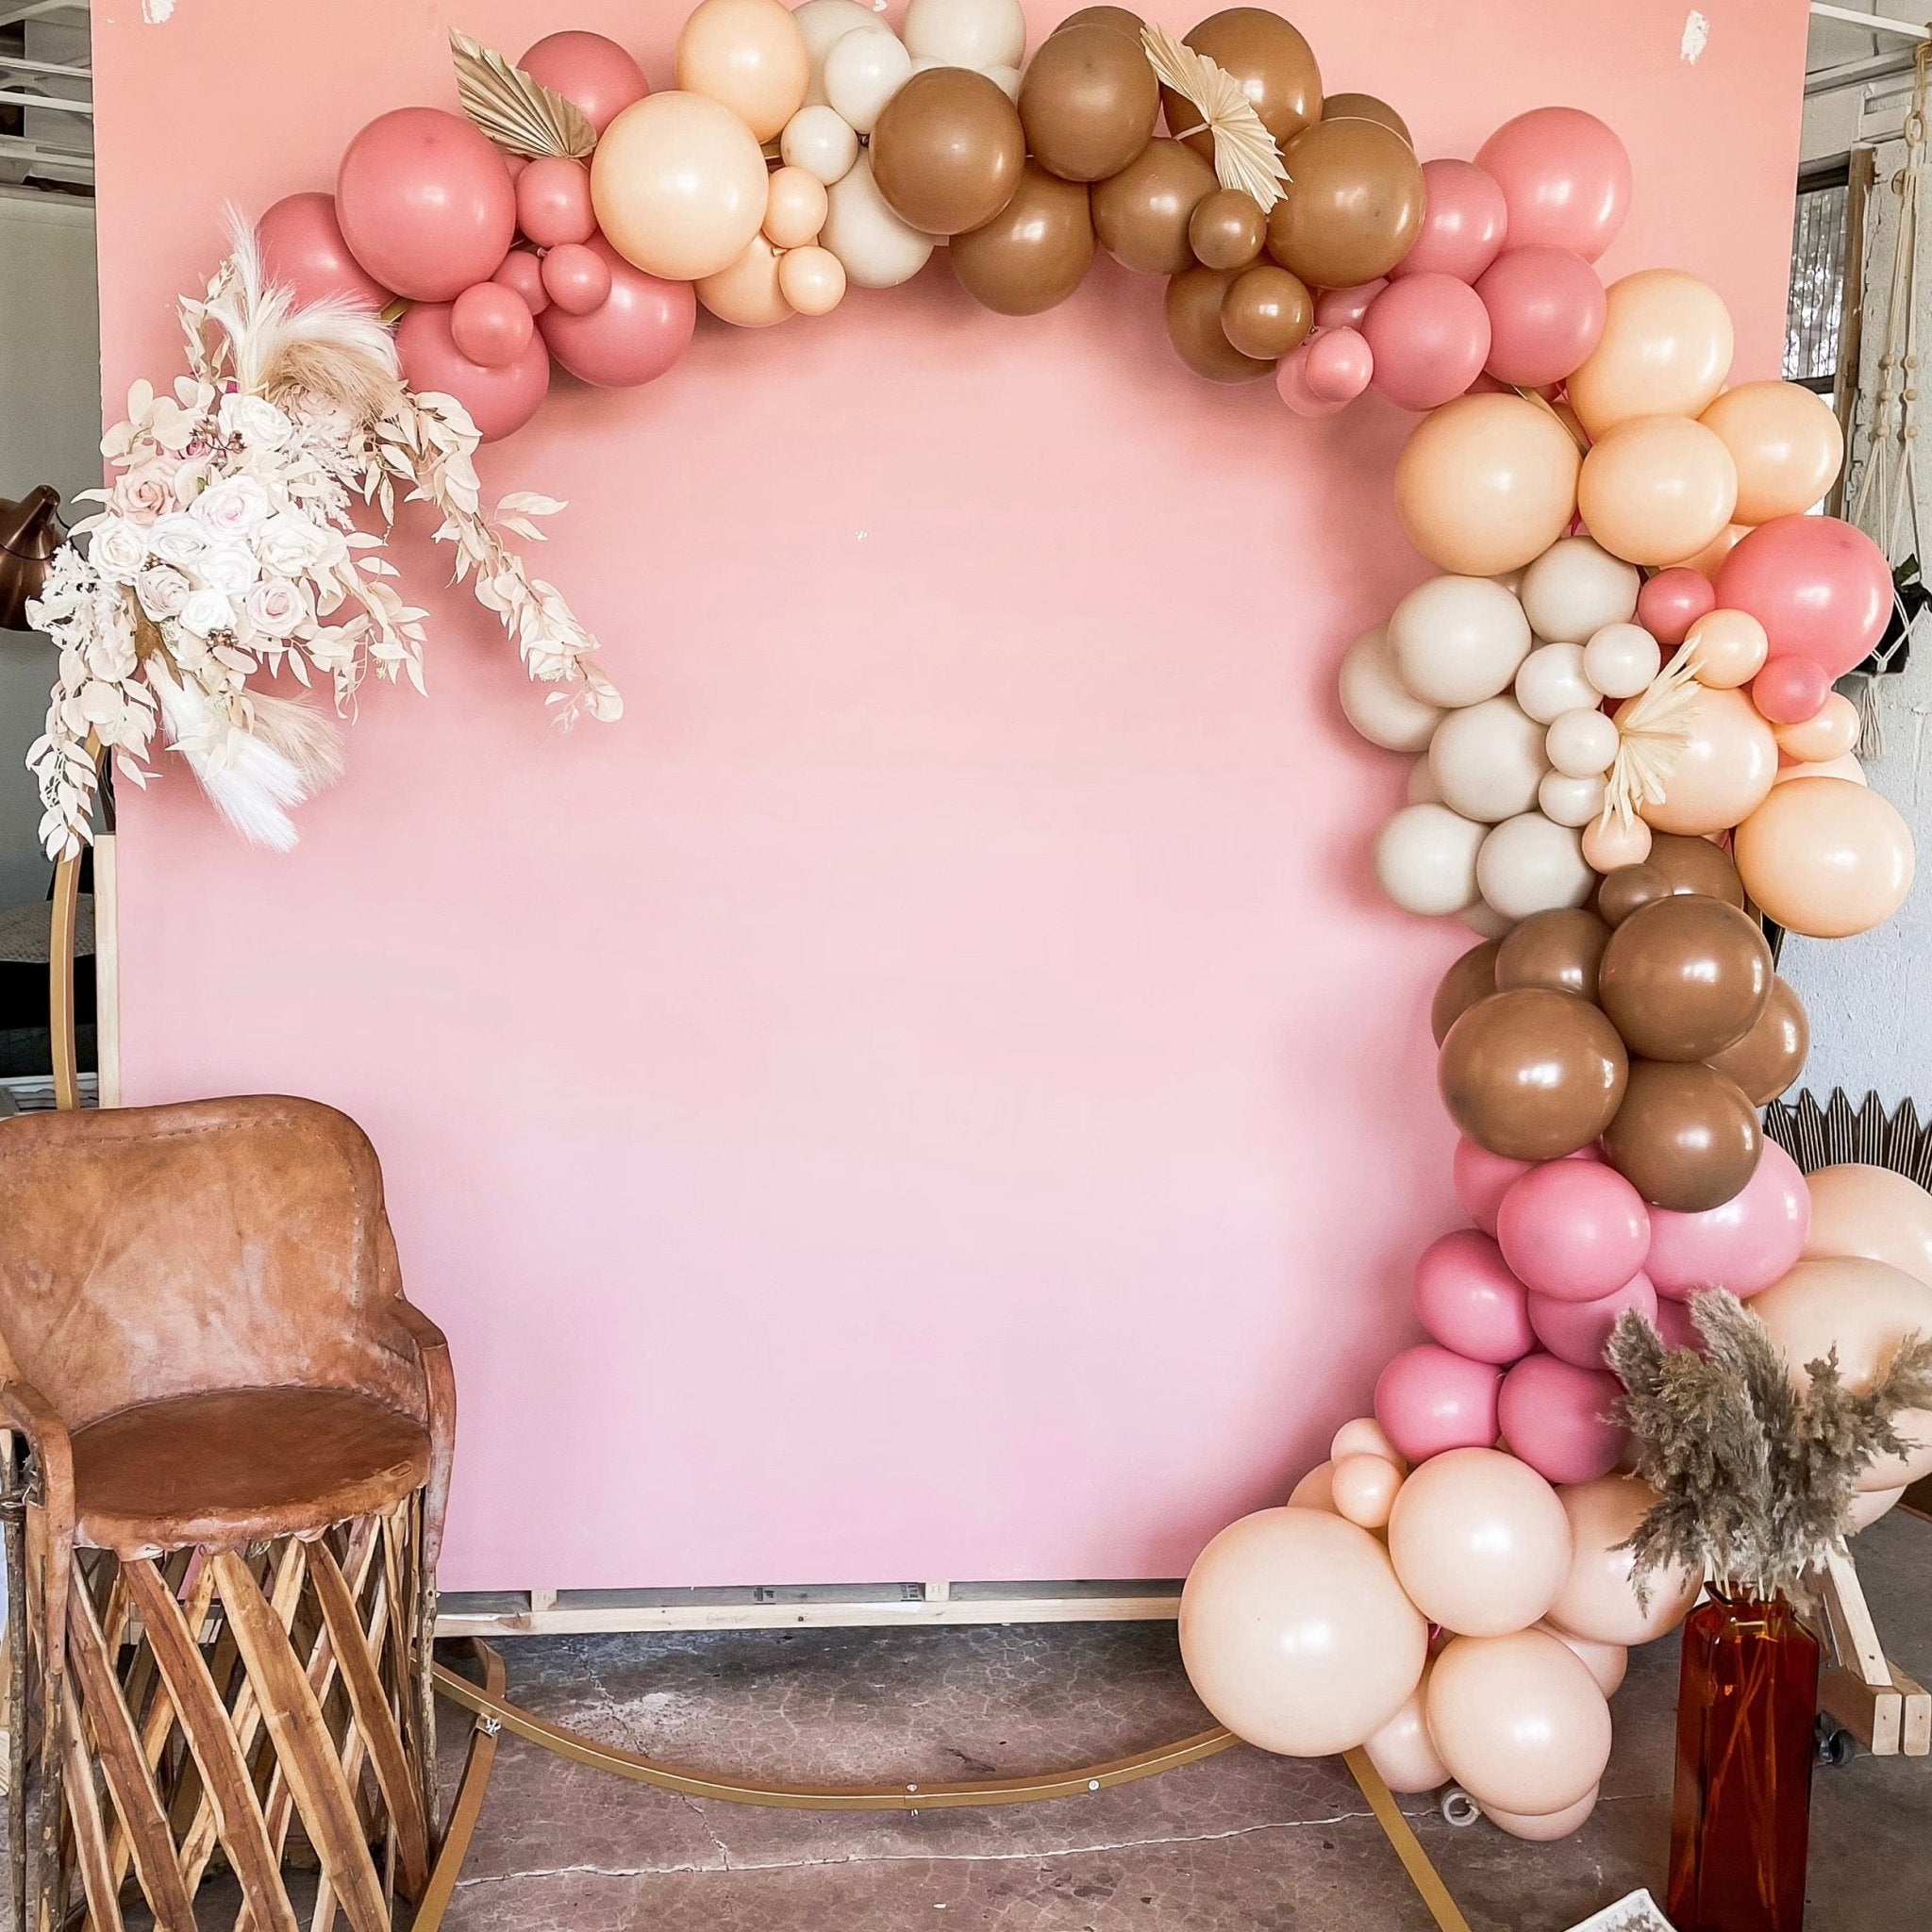
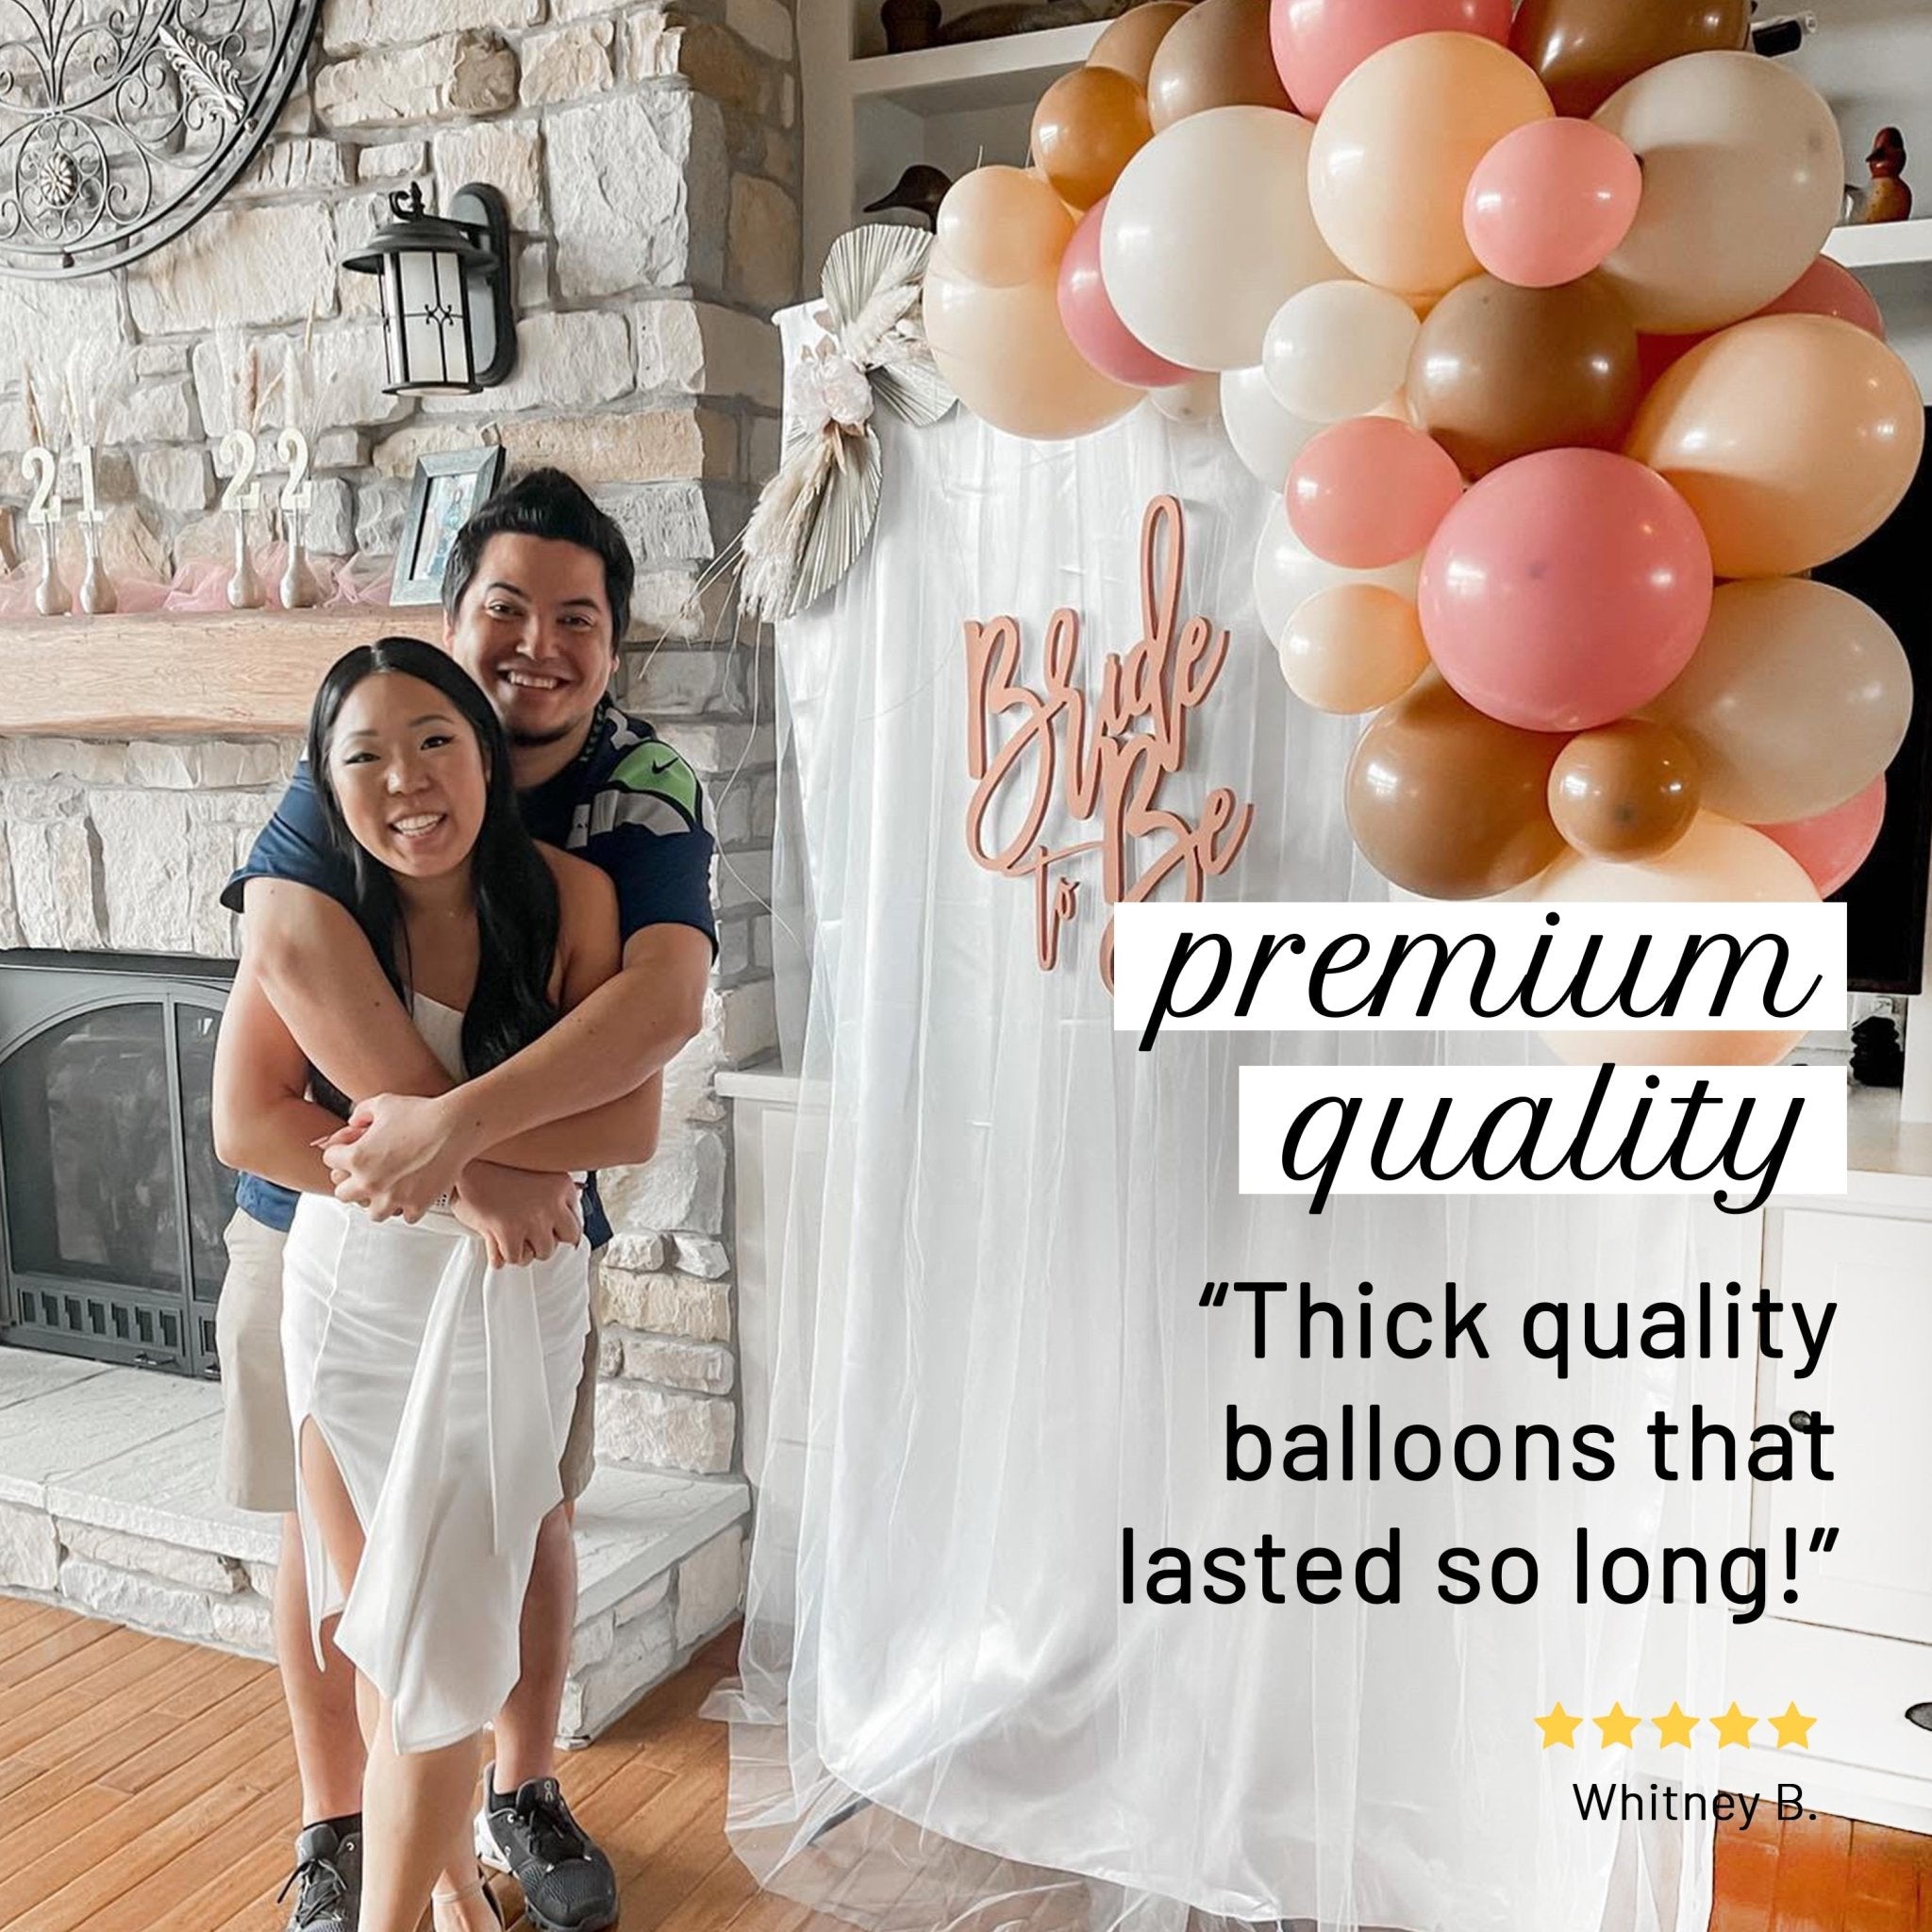
Moody Boho Balloon Garland Kit | Matte Mauve Blush Mocha DIY Arch
15ft kit · more sizes inside
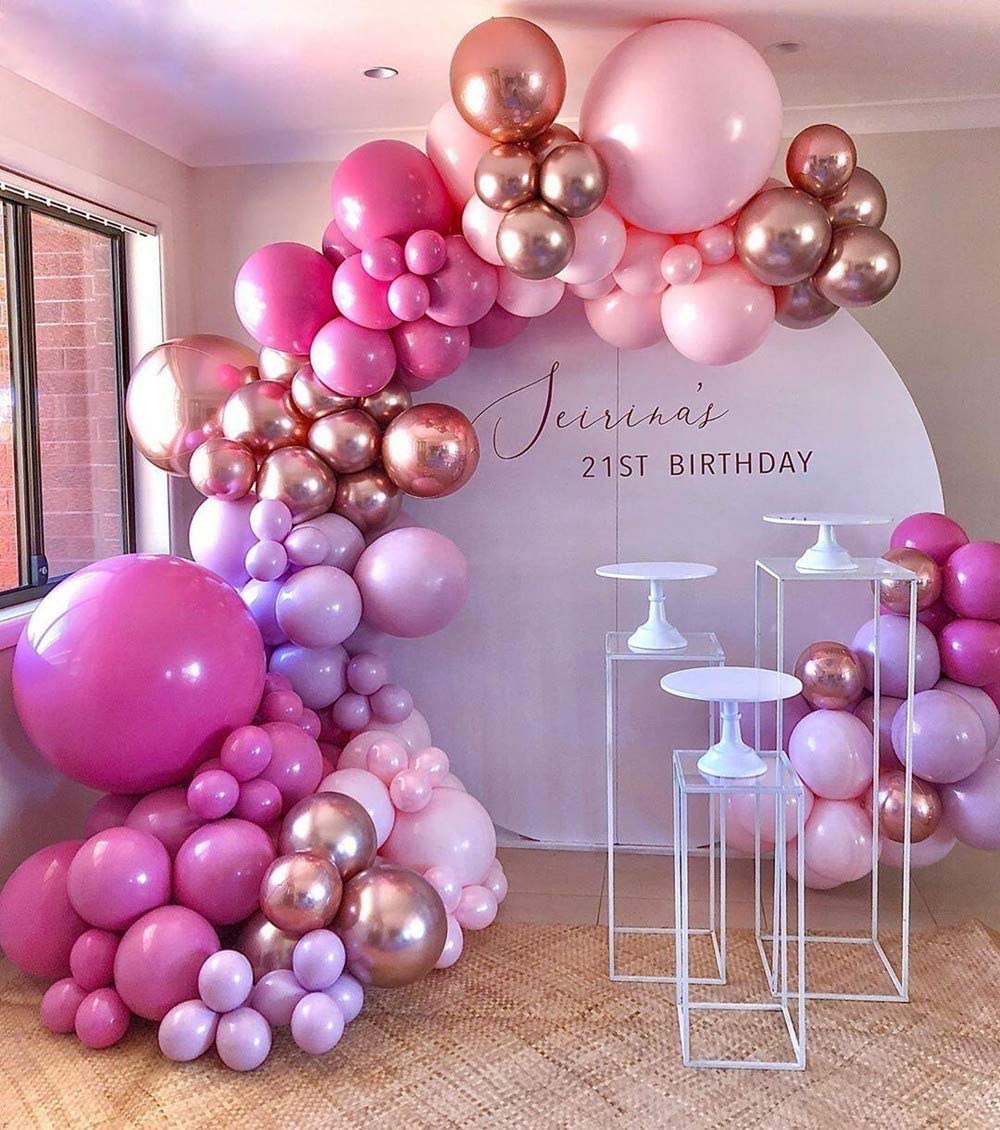
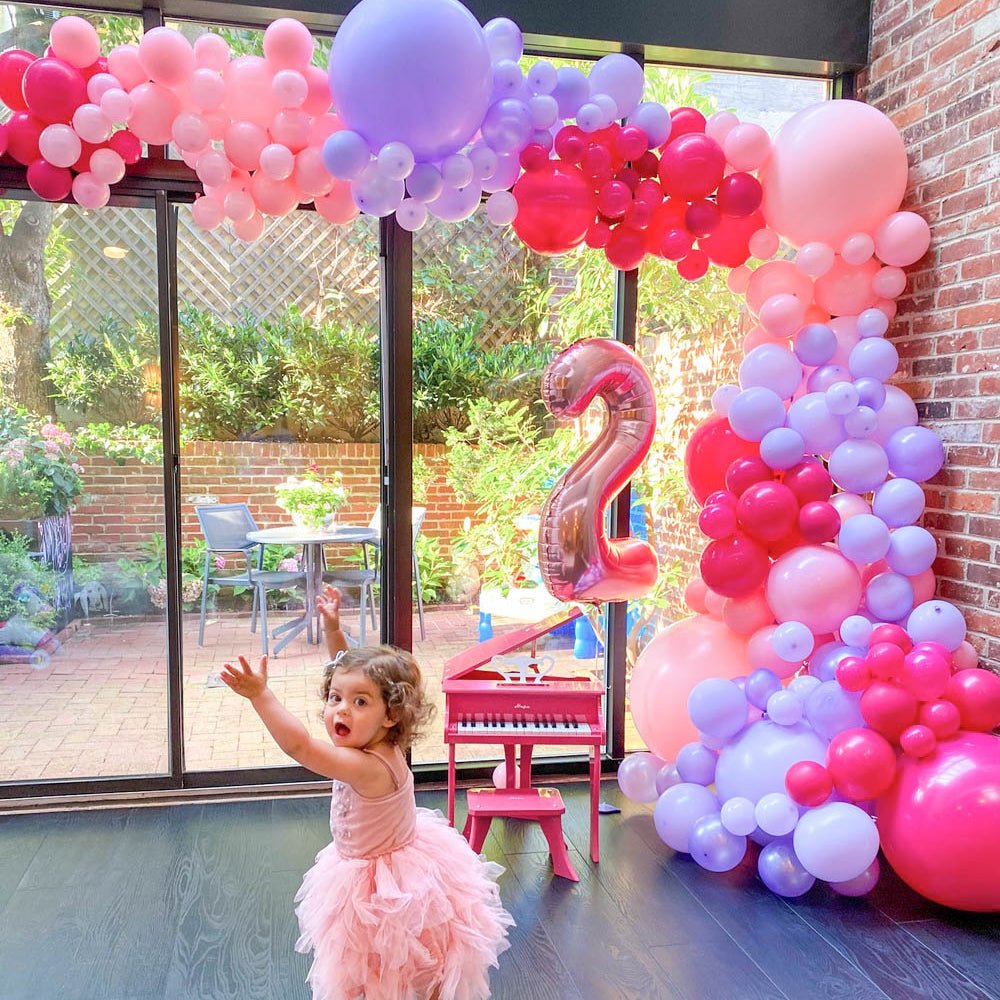
Pink & Purple Ombre Balloon Garland Kit
15 Feet kit · more sizes inside


Boho Neutral Balloon Garland Kit | Blush, White, Sand and Pearl
15ft kit · more sizes inside
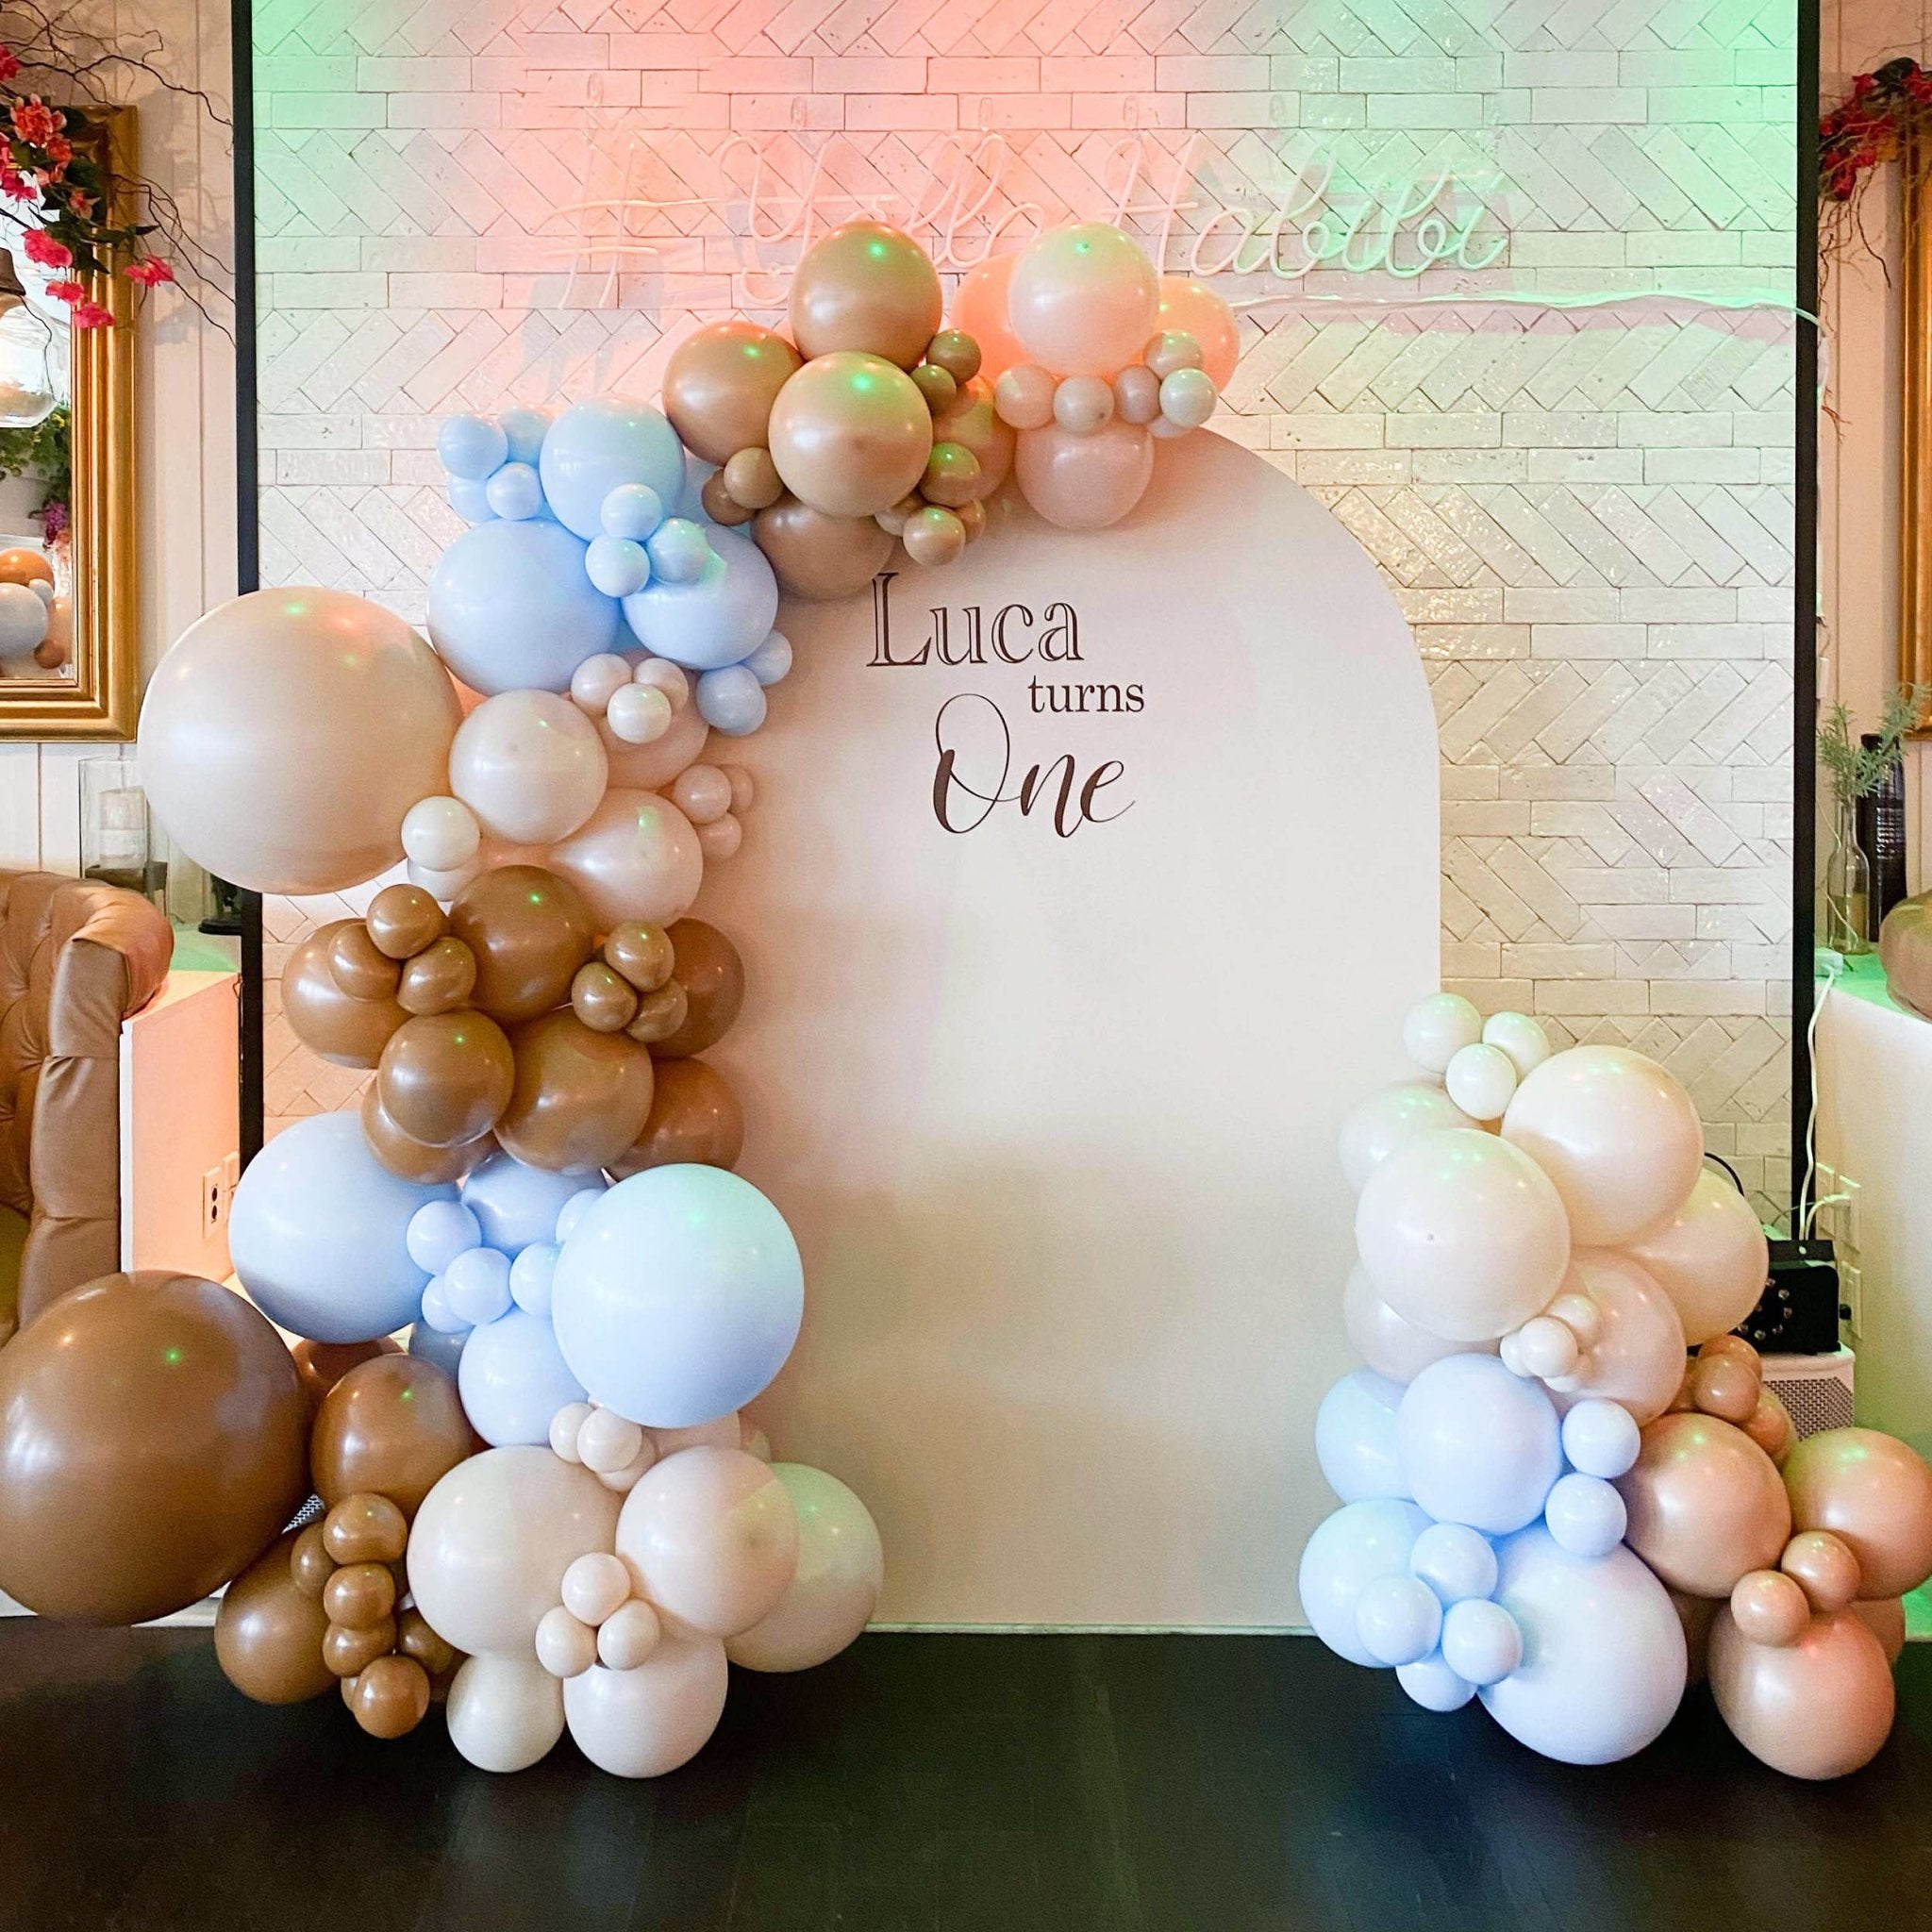
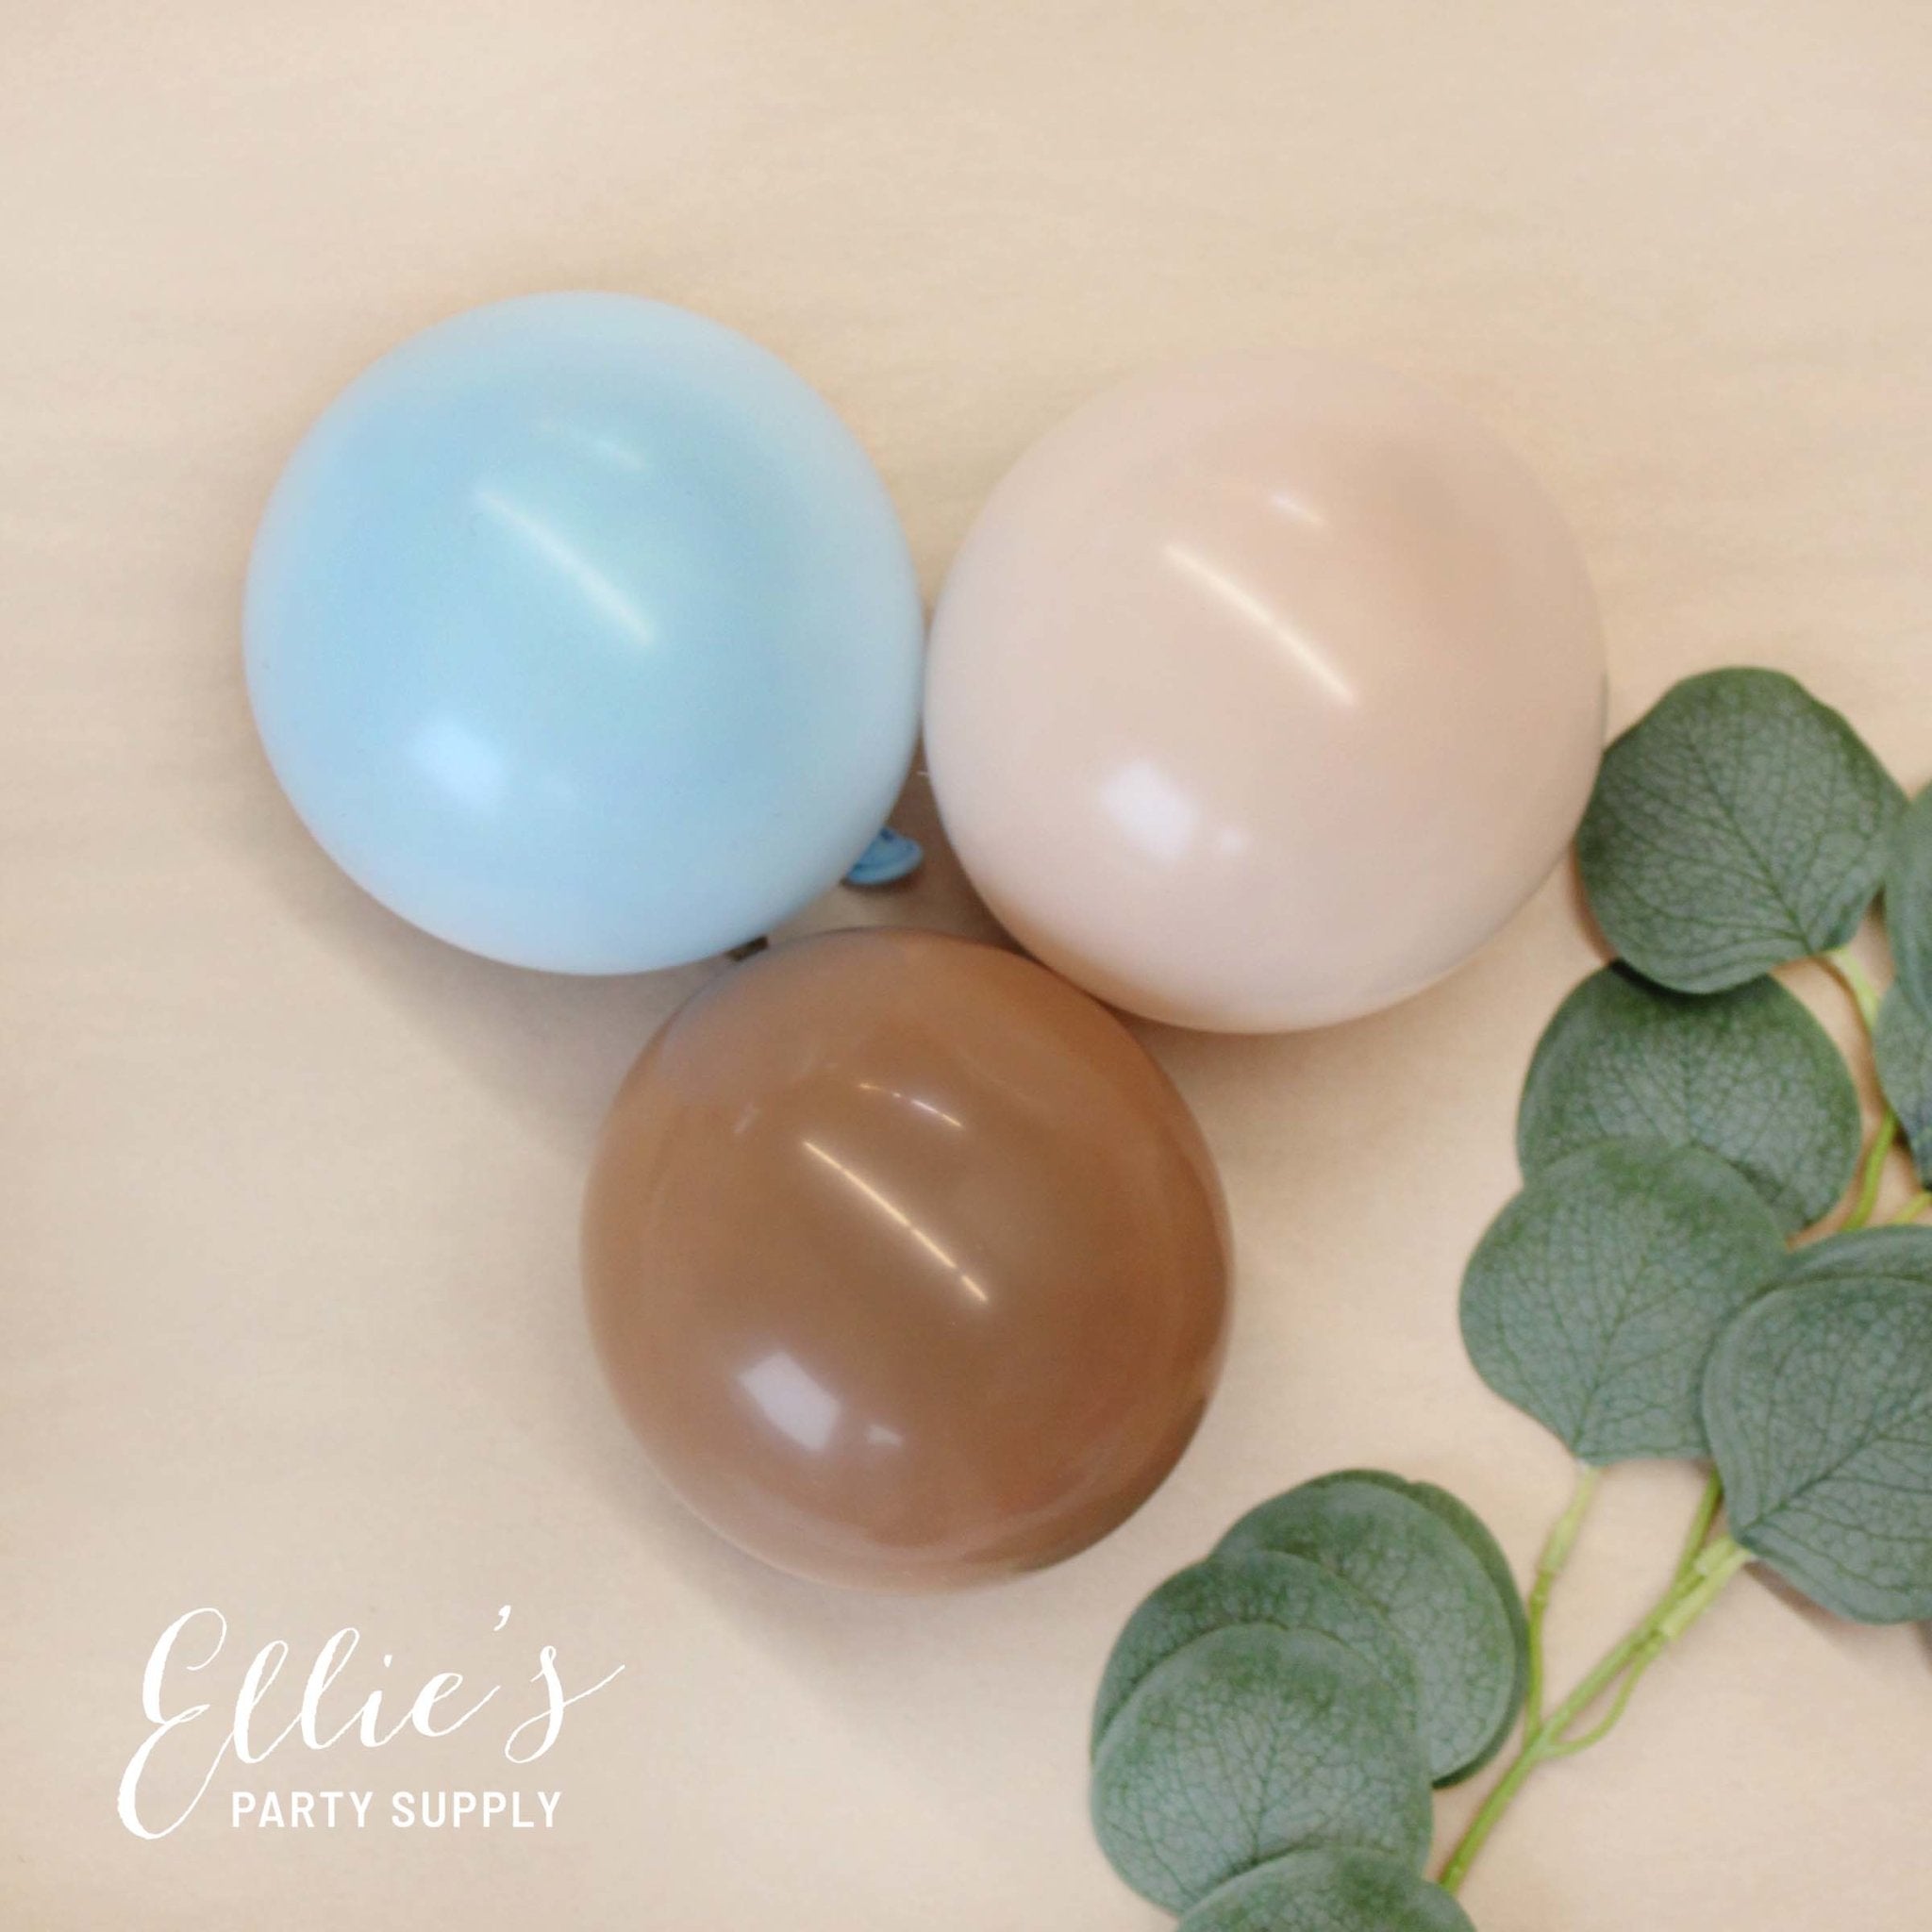
Teddy Bear Blue & Brown Balloon Garland Kit
15ft kit · more sizes inside
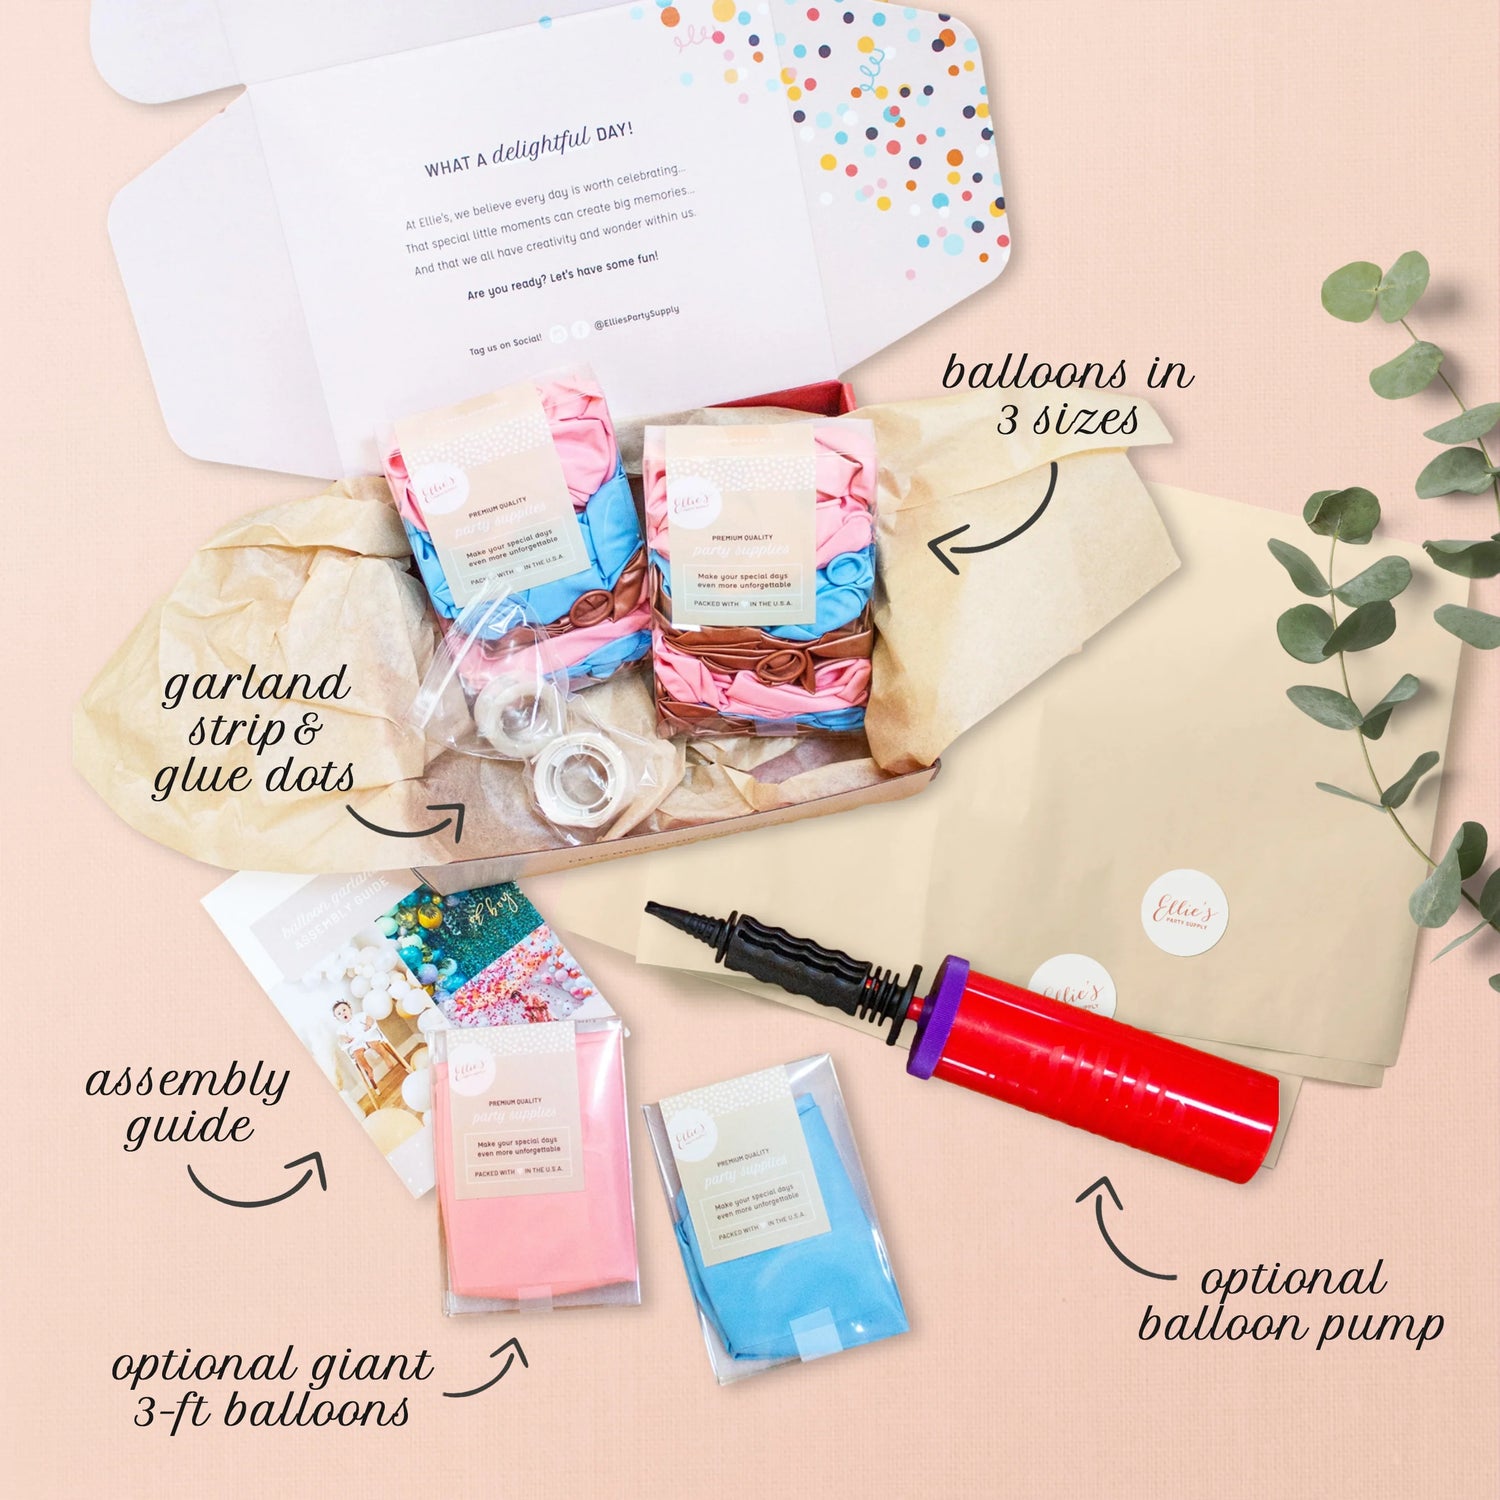
What's Inside
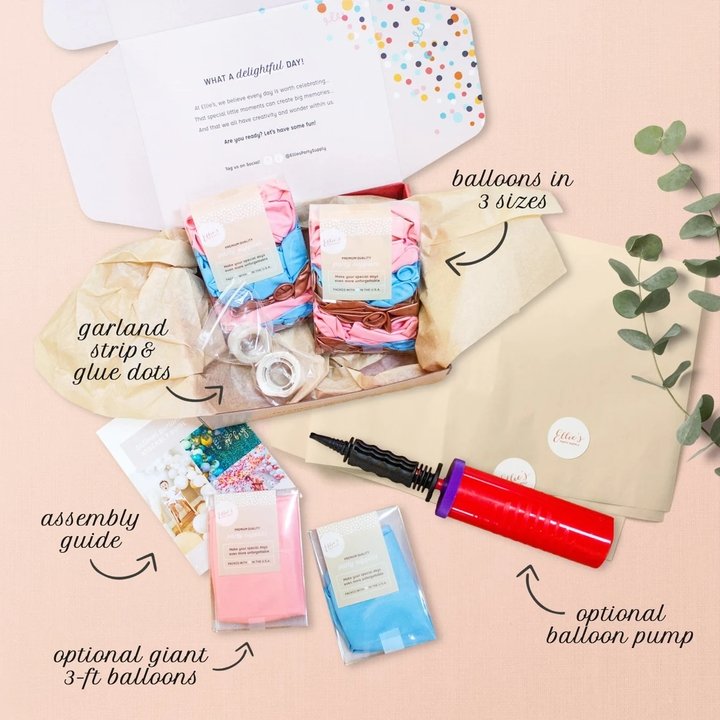
Here's a look at what's inside Ellie's balloon arch kits.
No need to run around to piece together supplies; get it all delivered to your doorstep, neatly packed in a sweet little box, including:
- A variety of premium decorator-quality balloons in 3 sizes: 5", 11" and a large size (14" to 18", depending on the color)
- Balloon garland tape to string balloons onto
- Glue dots to attach mini 5" balloons
- Command hooks, 260s and rubber bands for hanging: 2 hooks and 2 260s with a 5ft, 3 with a 10ft or 15ft, 4 with a 20ft, plus one rubber band for every foot of garland
- Easy-to-follow assembly guide + video tutorial
In addition to what's inside the kit, you may need:
- Scissors to cut the garland tape
- Hooks are already in your kit. If you want the garland to be free-standing instead, you will need a backdrop stand.
- We HIGHLY recommend grabbing the hand pump (or an electric air pump), as the balloons will need to be inflated with air
- Optional: You can make your balloon garland really POP by adding in giant 3-foot balloons!
- Optional: tuck in pampas grass, eucalyptus branches, or mylar balloons for a finished look.
Step 1. Inflate the Balloons
As mentioned above, we highly recommend a hand or an electric air pump. (Because let's be honest, who wants to blow up 50-200 balloons by mouth?!)
Inflate and tie all of the balloons, and set aside.
Pro Tip: To give the balloons a beautiful round appearance (instead of oval), fill the balloon with air, and before tying, slowly press on the top and bottom while slowly releasing air. You can do this by pressing the balloon on a table or against your chest.
Step 2. Attach the Balloons to the Garland Tape
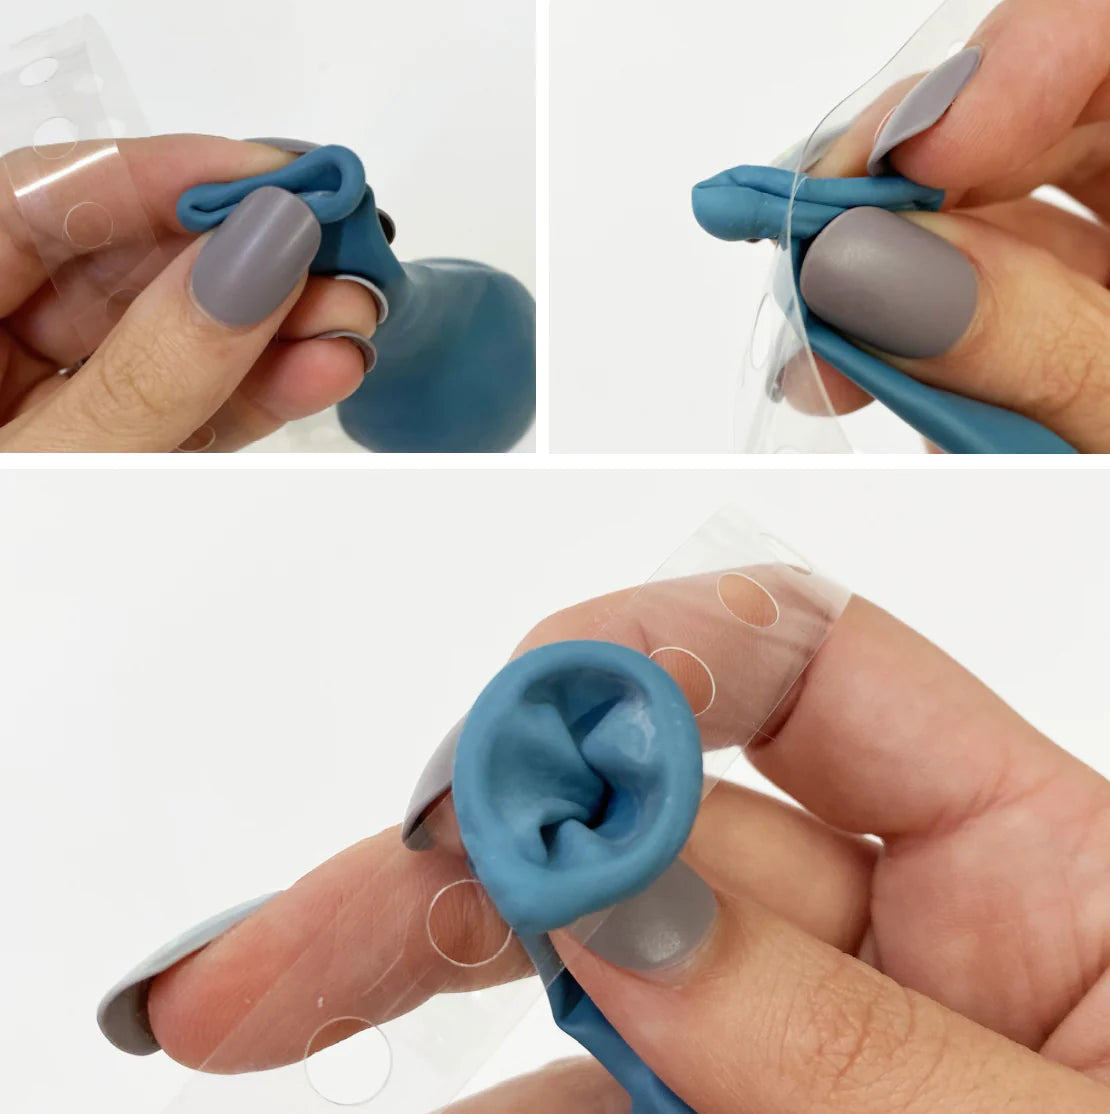
To secure your first balloon, leave about 12 inches of balloon tape free at one end. Start with your medium sized balloons first (the 11” and the large ones). Fold the lip of balloon, and insert it through a hole in the balloon tape. You do not need to pull the knot through the hole. Add the remaining medium sized balloons, each in a new hole. Alternate as you see fit and if space gets too tight, skip a hole.
Step 3. Hang the Garland
After all of the medium sized balloons have been added, hang your garland using the Command hooks and 260s from your kit, or string.
If your balloon arch will be hung on a wall, ensure the hooks are secure. Hang the middle section first, and then the top and bottom sections. If extra stability is needed, add string to loop around the garland and tie to the hooks.
Quick Tip: It is best to start with the middle to determine the length you have above and below it, whether it be on an arch structure, with a backdrop, or hung from a wall.
Step 4. Add the Small and Giant Balloons to the Arch
The giant balloons are best added to the bottom ends of the arch. Even though they are air filled, they are a bit too heavy to add elsewhere on the garland.
Next, you will add the 5” balloons to fill in any gaps. Here, you will use the double-sided glue dots to secure onto the other, larger balloons.
Pro Tip: Try tying two 5" balloons together to make a "duo." Then, take another duo and wrap them into each other to create a "quad" cluster. Place these quads onto the garland for a designer effect.
Quick Tip: Apply one glue dot at a time. Gently press the glue dot to a balloon, peel the tape away, lightly press the balloon into the gap and allow the glue to adhere.

Step 5. Add Your Accessories
Balloon arches make an impact all on their own, however, you can always add accessories for a little more detail!
Palm leaves, faux flowers, greenery, or ribbons make great additions. Fun mylar or number balloons also make your balloon garland extra special. Add these items after your arch has been assembled and installed.
Congrats... you just built your first balloon garland!
We hope you had fun and learned something! When you post your masterpiece on Instagram, don't forget to tag us @elliespartysupply!
Need a hand? Message us anytime. A real person answers.
Let customers speak for us
Ellie’s Party Supply is the BEST! We’ve used them for our kids’ birthday balloon arches for the past two years and they are always beautiful! This year they created the arches for my son’s 11th birthday and my daughter’s 5th mermaid-themed birthday, and both turned out perfect. The quality is amazing and they lasted over a week! Pickup is always quick and easy, and the whole process is so convenient. We will definitely be back for more!
ordered a balloon garland and it came out amazing and at such a good price! i highly recommend and i love how quick and easy it is!
Ellie’s Party Supplies did such an amazing job! We ordered a balloon arch for a baby shower, and it was ready for pickup, beautifully put together, and matched our theme perfectly. It made decorating so easy and ended up being the perfect statement piece for the shower. Everything looked amazing, and we received so many compliments. I would absolutely recommend Ellie’s Party Supplies for your next event!
Love Ellie’s party supplies!! The garland I got was so perfect!! So nice to have this option locally!! Can’t wait for my next party to get more!
Great item easy to install

Very cute bat set. Look forward to setting up for Halloween.

Love this gold color! I needed to match the Ellie’s brand (discontinued) glazed gold and this is the same color.

Great butterfly stickers! Sticked really well
Our balloons were PERFECT!!! So easy to transport and it was exactly what our 16 year old wanted :)

Shipped quickly & great product

Shipped quickly & great product
Item was easy to assemble. Great Quality!

Super cute love the balloons!

matches description
Pretty exactly how they are listed.
Balloon Arch Frequently Asked Questions
Can I separate the balloon kit into smaller lengths?
Can I separate the balloon kit into smaller lengths?
Absolutely! You can cut the balloon garland tape to any size you like.
Can I assemble the balloon garland in advance?
Can I assemble the balloon garland in advance?
Yes! We recommend setting up the garland 1-2 days before the event. Store it in a bag if you don't want the balloons to lose their shine. Also, keep it out of direct sun and heat.
How do I make the balloons look matte & trendy?
How do I make the balloons look matte & trendy?
Blow the balloons up 2-3 days ahead. The longer they are blown up, the more matte they become. Remember to keep them out of the sun and heat.
My event is really soon! If I order a kit, will my order make it in time?
My event is really soon! If I order a kit, will my order make it in time?
1 to 3 business days to pack. We count, pack and check every kit by hand. Most orders go out sooner.
Then 3 to 5 business days to you. Standard USPS shipping averages 3 to 5 business days after your order ships, and every garland kit ships free within the U.S. Delivery dates aren't guaranteed.
Have an event date? Tell us before you order and we'll help you pick the right shipping. Faster shipping is available at checkout for an extra cost.
Eligible unopened items can be returned within 14 days after delivery. Custom garland orders are excluded. Read the full return policy.
How long do the balloons last?
How long do the balloons last?
Air-filled garlands last days to weeks indoors, depending on heat, sun and handling. Keep yours out of direct sun and away from heat.
How long does it take to assemble a balloon arch?
How long does it take to assemble a balloon arch?
With an electric pump (we highly recommend one), give yourself about 1 hour for a 15ft using the cluster method, or about 1.5 hours using the garland strip.
Blowing up by hand or with a hand pump runs about 15 seconds a balloon. A 10ft is about 100 balloons and a 15ft about 150, so that is roughly 25 minutes or 40 minutes of pumping with no breaks, before you start building.
Are latex balloons biodegradable?
Are latex balloons biodegradable?
Our latex balloons are made from natural rubber latex, which comes from rubber trees. How quickly latex breaks down depends a lot on conditions, so please never release balloons outdoors. After your party, pop them, collect the pieces and throw them away.