

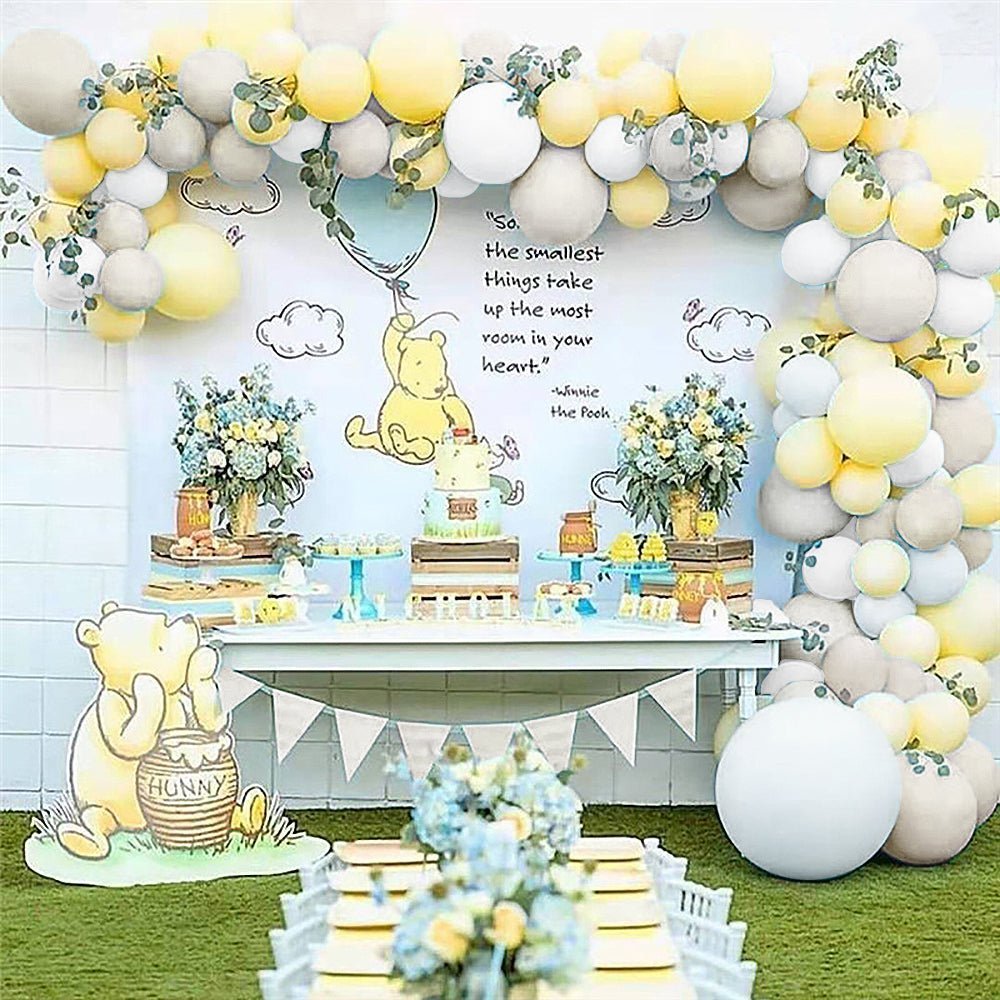
How to Make a DIY Winnie the Pooh Balloon Garland at Home
A balloon garland is one of the quickest ways to turn a Winnie the Pooh baby shower or first birthday from a few decorations into a full party scene. It frames the cake table, makes photos feel finished, and can be assembled at home without helium or prior balloon-decorating experience.
The easiest approach is to begin with a coordinated color palette, choose the right length for your space, and add a themed backdrop or bear balloon after the garland is installed.
Choose a color palette
Start by deciding the feeling you want the party to have.
- Classic blue and yellow for a First Bee Day or traditional Pooh-inspired setup
- Pink and yellow for a softer birthday or baby shower palette
- Pastel yellow, white, and linen for a neutral storybook look
- Pastel blue, yellow, and pink for a gender-reveal variation
Each palette works differently, but the assembly process is the same.
Pick the right garland length
| Garland length | Best for |
|---|---|
| 5 feet | Highchair backdrop, gift table, small cake table, or doorway accent |
| 10 feet | Standard cake-table backdrop, photo wall, or medium entryway |
| 15 feet | Large backdrop, wall display, longer table, or multiple curves |
| 20 feet | Full wall, sweeping entry, large event space, or wraparound display |
If you are unsure, choose enough length to create soft curves. A garland usually looks fuller when it is shaped around one side of the backdrop rather than stretched into a straight line.
What you need
- A DIY balloon garland kit
- An electric or hand balloon pump
- A secure hanging method for your wall or backdrop frame
- Scissors for trimming ties or line
- An optional themed backdrop, statement balloon, or balloon bouquet
Balloon garlands are air-filled, so you do not need a helium tank.
Step-by-step balloon garland method
1. Inflate the balloons
Inflate balloons in a few different sizes when your kit includes them. They do not all need to match exactly. Small size differences help the garland look more natural and full.
2. Build the main shape
Push the balloon knots through the holes in the balloon strip. Work in a loose pattern rather than trying to make it perfect on the floor. The garland gets its final shape after it is hung.
3. Add fullness with glue dots
After the main garland is hanging, use glue dots to add smaller balloons. Fill obvious gaps first, then step back a few feet and look at the overall shape before adding more.
4. Attach it to your display
For a party backdrop, hang the garland around the top corner or down one side. You do not need to cover every edge. An asymmetrical garland often looks more relaxed and more intentional than a perfectly even arch.
5. Add the themed focal point
Finish with one or two themed pieces rather than overloading the garland. A bear balloon, character bouquet, tassel tail, cake table, or soft honey-inspired detail can be enough to tie everything together.
Prefer not to source every detail separately?
Choose a coordinated Party Box instead. The Blue Bear Party Box, Pink Bear Party Box, and Honey Bear Party Box are designed for shoppers who want a balloon garland plus matching cake-table pieces in one order.
Browse all Party Boxes, or choose individual pieces from the Winnie the Pooh collection.
Can you assemble it early?
For an indoor party, you can often assemble the garland ahead of time if it is protected from direct sunlight, heat, pets, sharp surfaces, and heavy handling. If you need to transport it, assemble the main body at home and add loose smaller balloons or final details after it is in place.
For an outdoor party, wait as long as practical and keep the garland out of direct sun.
Need a different color combination?
If you love the scale of a balloon garland but your party colors do not match a ready-made kit, explore the Custom Garland Builder for a more tailored setup.


